
Last updated November 15, 2026
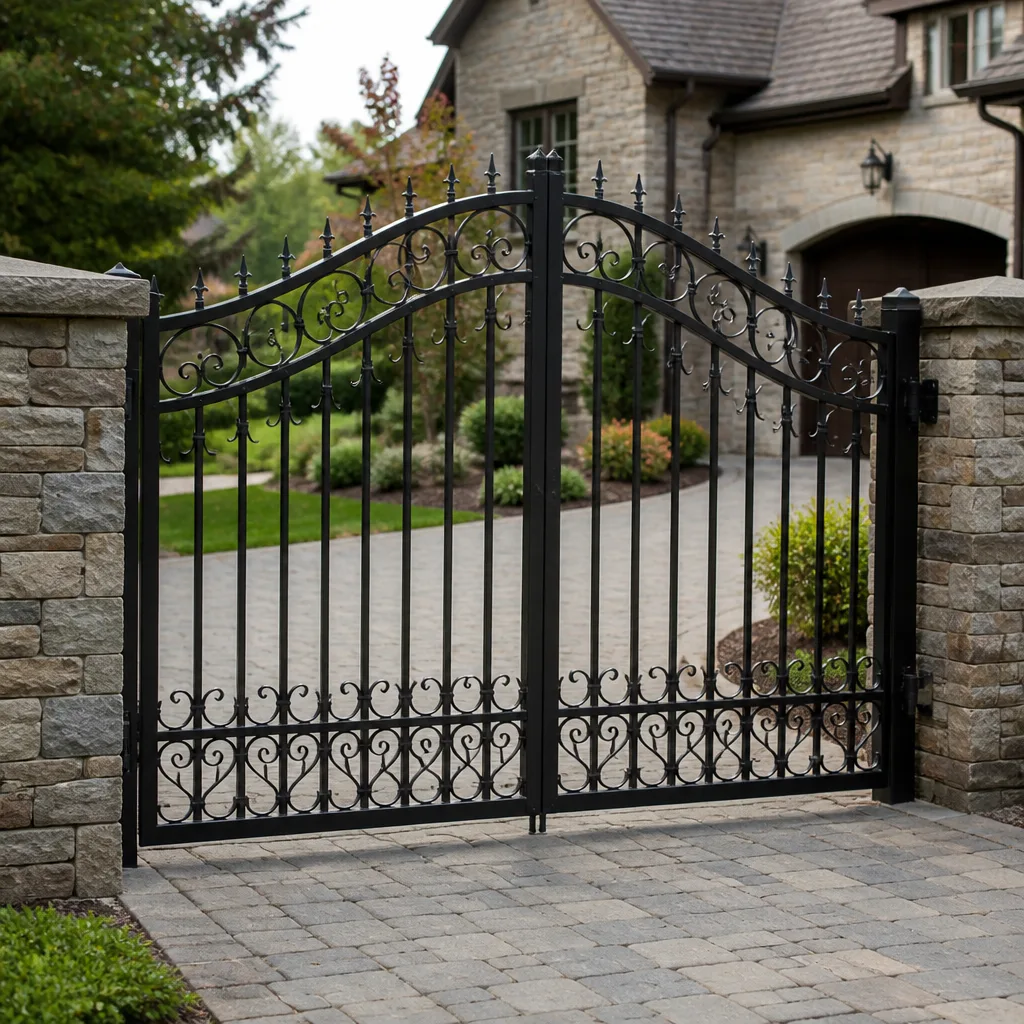 Wrought iron
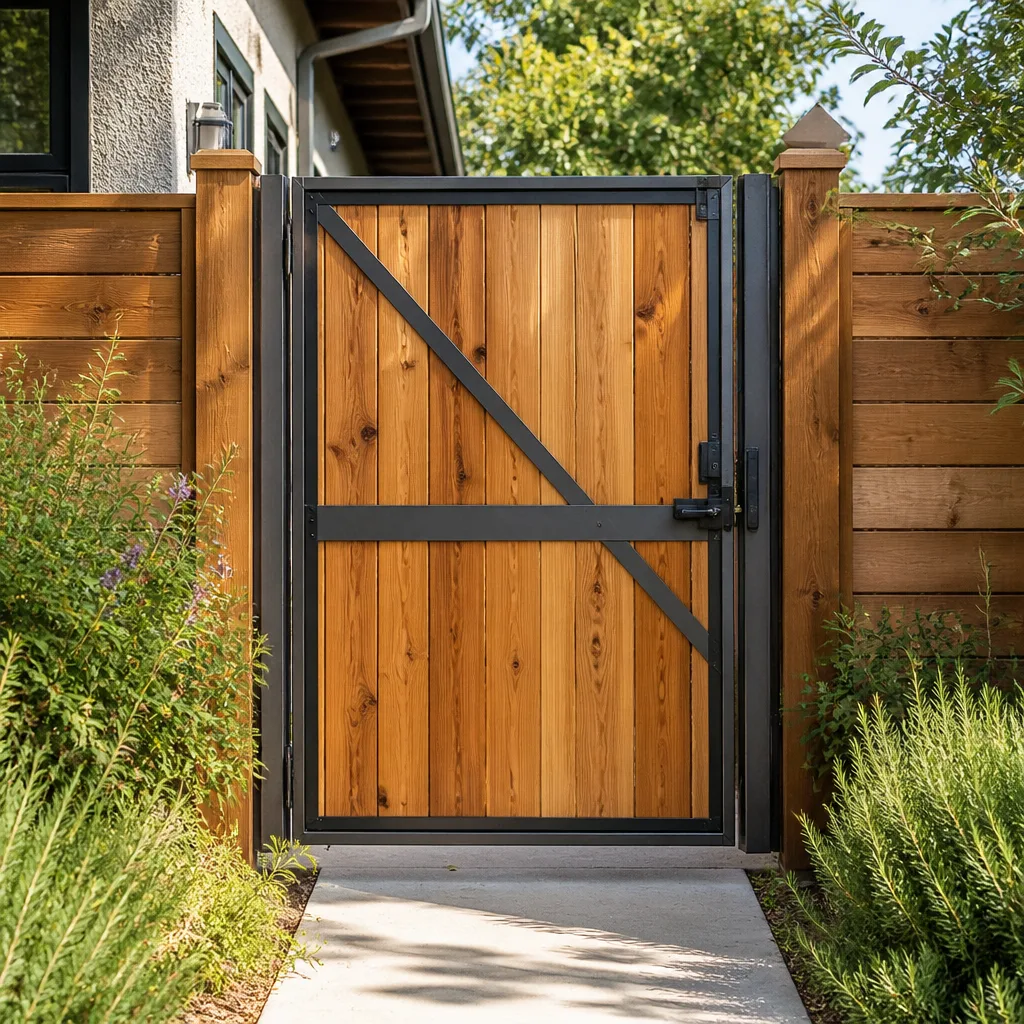 Wood & steel frame
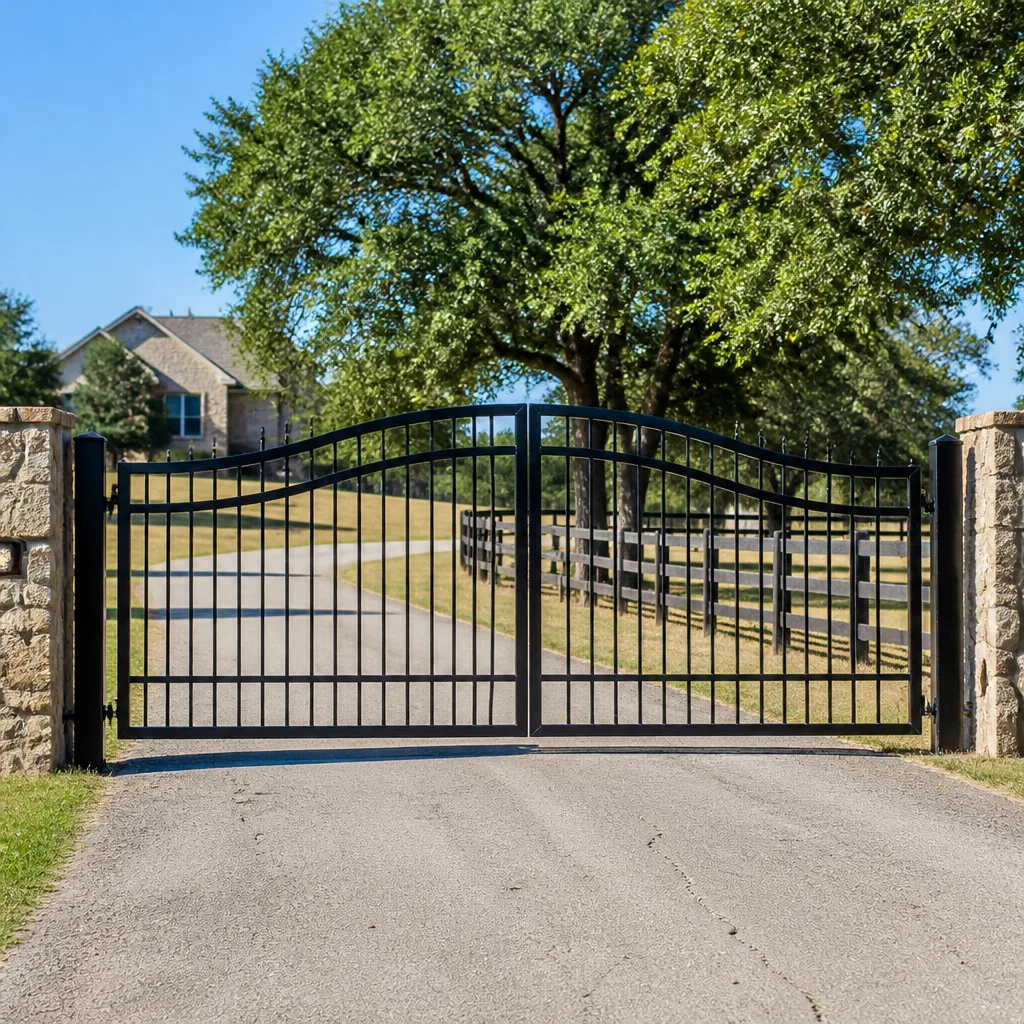 Farm & ranch
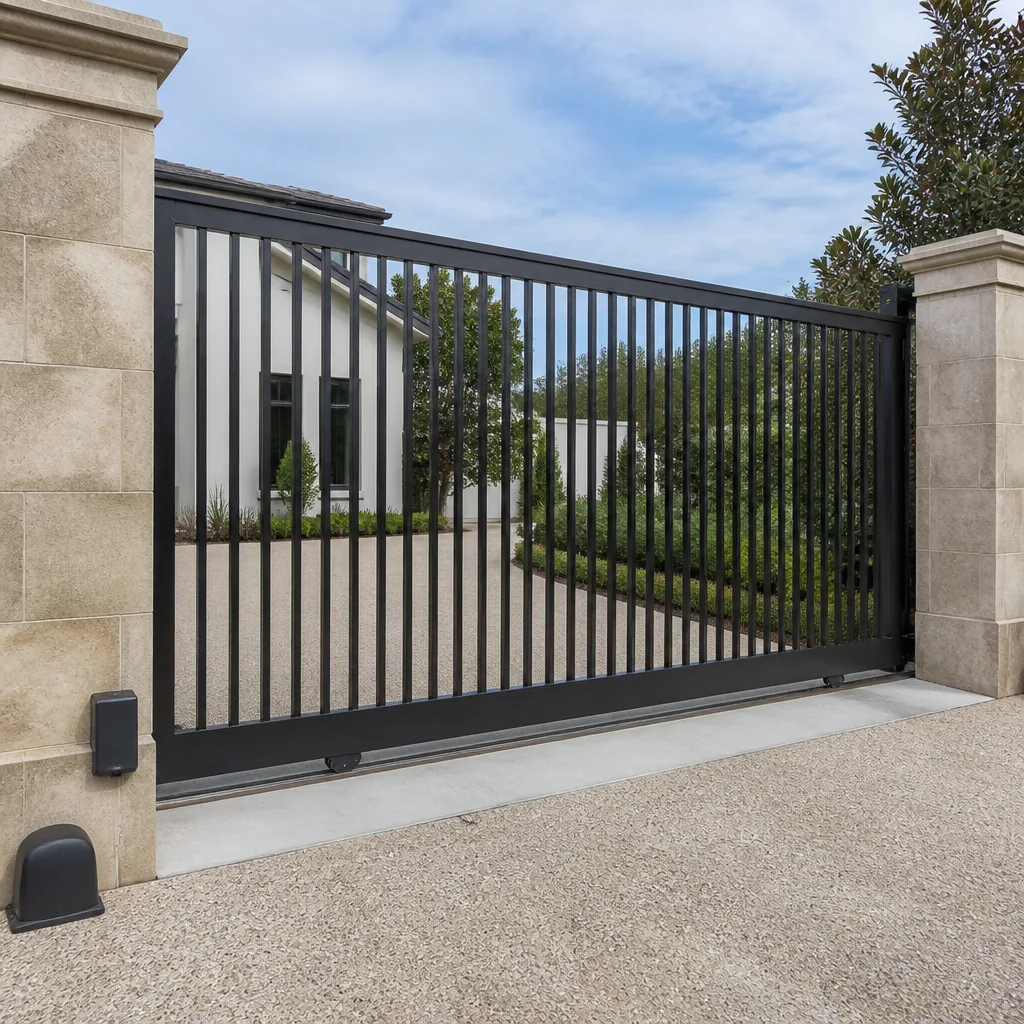 Sliding driveway gates
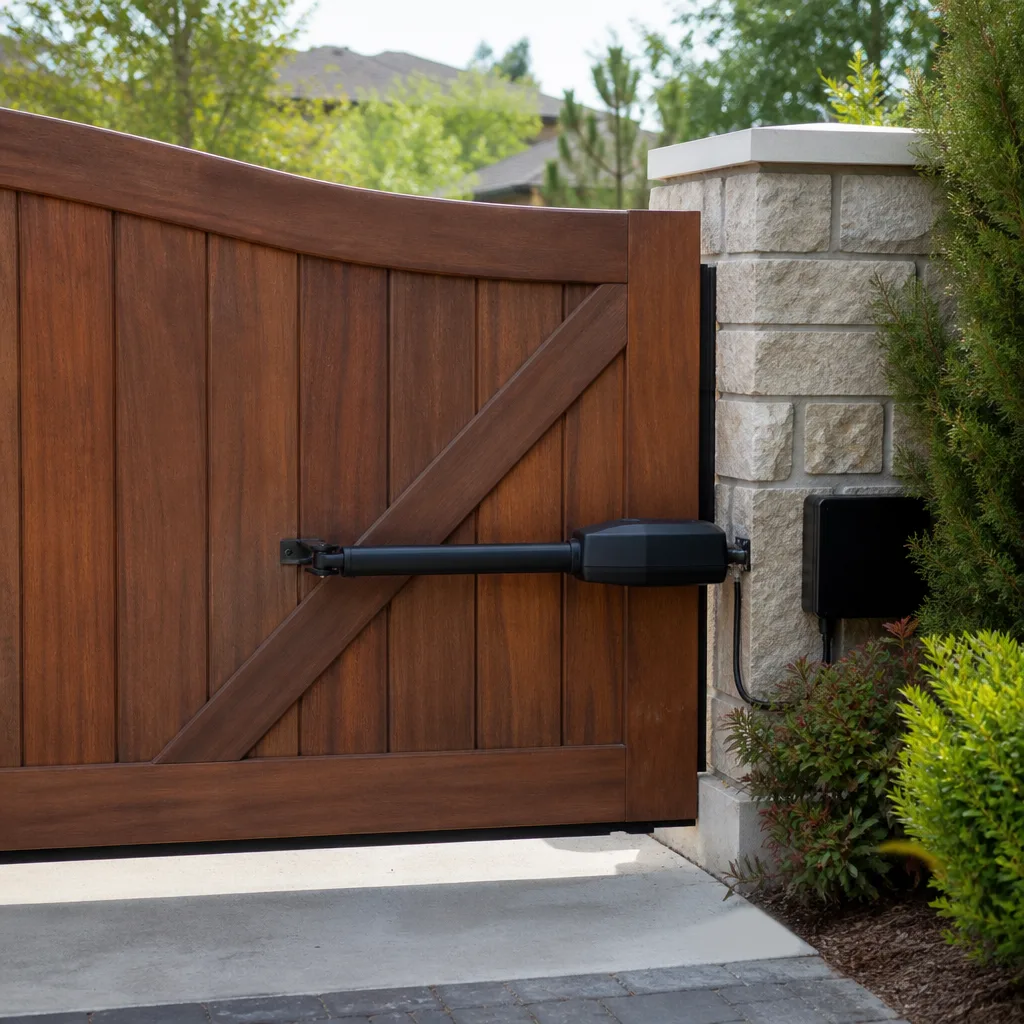 LiftMaster operators
Free on-site gate assessment - hinges, posts, and your LiftMaster or Nice gate operator checked before anything is quoted
The assessment is free and the quote is the invoice.
Get your free estimateGate Repair Troubleshooting in Pembroke Pines: Common Problems and How to Fix Them
A gate that reverses before it closes isn’t broken. Its obstruction sensors are lying to it. That one distinction explains a large share of the automated gates we see behaving strangely around Pembroke Pines, and it’s where most troubleshooting goes wrong. Homeowners replace batteries, bend brackets, and sometimes order new control boards chasing a problem that lives in the sensor circuit or the power supply, not the hardware. A $90 adjustment gets mistaken for a $900 replacement because nobody worked through the system in order. This guide shows you how to do that: power first, signal second, mechanical third. You’ll learn the five root causes behind most failures, how South Florida humidity throws gate posts and sensors out of alignment, which fixes stay in your hands and which need a technician, and how to document symptoms so a diagnosis gets faster.
Quick Answer
Most gate problems in Pembroke Pines come down to five root causes: a power fault, a control board or logic failure, misaligned or dirty sensors, a mechanical bind in the hinges or track, or a failing operator drive. The fix is to test them in that order rather than assuming the most visible part is the problem. If the gate moves at all but behaves erratically, it’s usually signal; if it’s dead or trips a breaker, start with power. Anything involving the control board, exposed wiring, or a heavy panel that won’t stay put needs a trained technician, not a homeowner repair.
Styles & brands we work with
- Wrought iron
- Wood & steel frame
- Farm & ranch
- Sliding driveway gates
- LiftMaster operators
Table of Contents
- Why Gate Troubleshooting Starts With Diagnosis, Not Tools
- The System-Layer Diagnostic Sequence: Power, Signal, Mechanical
- How South Florida Humidity Warps Posts and Throws Off Alignment
- Soft Reset vs. Hard Reset on Residential Openers
- The Five Root Causes Behind Most Gate Failures
- What Homeowners Can Safely Fix vs. What Needs a Technician
- How to Document Symptoms Before You Call
- Common Mistakes to Avoid
Why Gate Troubleshooting Starts With Diagnosis, Not Tools
The instinct when a gate stops working is to grab tools. That’s understandable, and it’s usually premature. A gate is a system with four layers: power, control board, sensors, and mechanical drive. The symptom you see sits at the top, but the fault almost always lives at the bottom. A gate that opens halfway and stops looks mechanical. Often it’s a control board logging a phantom obstruction because a sensor has drifted out of alignment.
We work on gates – only gates. That single-trade focus matters at exactly this point, because a specialist reads symptoms as a system failure and works down through the layers. A generalist often fixes what’s visible and leaves the actual cause in place.
Here’s the mental model that saves the most time and money:
- Power layer: Is the operator getting clean voltage? Is the breaker tripped, the transformer warm, or the battery backup charged?
- Logic layer: Is the control board on, error codes flashing, and set to the right mode for your entry system?
- Signal layer: Are the safety sensors, keypads, and remotes communicating properly, or is something interrupting the signal?
- Mechanical layer: Are the hinges, rollers, track, and chain free of bind, rust, and debris?
Work down through them in order. When you jump straight to mechanical, you often correct the symptom and leave the root cause behind, which is how a gate “breaks” again a week after a fix. If you’d rather have this worked through by someone who does the diagnostic sequence on every call, that’s what our gate repair service is built for. The point of a systematic sequence is to find the one thing actually causing the failure.
The System-Layer Diagnostic Sequence: Power, Signal, Mechanical
This is the sequence a trained technician runs on every service call. You can follow the first steps safely to narrow things down before asking for help. The steps that involve opening the operator housing or touching wiring stay with a professional, and we’ll say clearly where that line sits.
- Confirm the power supply. Check the breaker at the panel and the disconnect at the gate. If the operator has a battery backup, confirm the battery holds charge. No display lights and no movement at all usually points here.
- Read the control board. If the housing is accessible and safe to view, note what the board’s indicators show: steady, flashing, or off. A specific fault pattern narrows the diagnosis fast. Don’t touch the board or its terminals; just record what you see.
- Test the safety sensors. Break the beam between the sensors by hand and watch whether the gate reacts. Dirty lenses, a misaligned bracket, or a spider web across the lens can all trigger a false obstruction.
- Check the remote and keypad. Confirm the openers are paired and transmitting. A weak battery in a remote mimics a gate failure more often than people expect.
- Inspect the mechanical path. Walk the gate by hand only when the operator is powered off and the gate is safe to move. Look for a hinge binding, a roller off the track, or a chain with slack.
- Document and decide. Note which layer failed the test. If it points to the board or wiring, it’s time to call a technician.
In our experience, the most misdiagnosed layer is signal. Homeowners replace hinges because the gate “catches,” when the real issue is a sensor flagging a false obstruction every few cycles. The fix is alignment and lens cleaning, not new hardware. Following the layers avoids that trap entirely. If the electrical side is where your gate is failing, our electric gate repair work is dedicated to exactly those faults rather than treated as a sideline.
How South Florida Humidity Warps Posts and Throws Off Alignment
Gates in Pembroke Pines face a specific set of pressures. The combination of high humidity, heavy summer rain, and intense sun takes a toll that’s different from what a gate in a drier climate endures. Understanding that helps explain why your gate acts up in ways that don’t match its apparent condition.
Wooden posts swell and shift. Humidity causes wooden gate posts and frames to absorb moisture and swell, then shrink as they dry. Over time, that cycle warps posts enough to change the geometry of the gate. A wood post that has shifted even slightly throws the gate out of alignment, and that misalignment pushes the sensors out of spec. The gate looks fine, but the sensors now read the gate as an obstruction and reverse it.
Metal components rust and bind. Hinges, rollers, and chains exposed to humid air and rain corrode. A hinge that binds adds resistance the operator has to overcome, which can trip a safety shutoff or wear the motor faster. Regular inspection of the mechanical path catches this early.
Lenses cloud and sensors drift. Moisture and dust cloud sensor lenses, while the swelling and shrinkage of posts shifts the alignment between them. Either one alone can interrupt the beam.
What this means for gate owners in Pembroke Pines is that alignment work needs to be checked against the season. A gate that worked all winter can start reversing in midsummer because a wooden post swelled. If your system uses BFT or Linear hardware, those platforms are common in this area, and their sensor brackets are just as sensitive to a shifted post. Brand fluency matters here: a technician who already knows the system skips the learning curve. That’s the whole reason we service nine brands across residential and commercial jobs. Whatever platform you run, a Tidewater Gate Repair technician is on familiar ground before the visit starts.
Soft Reset vs. Hard Reset on Residential Openers
Before a gate is diagnosed as broken, it deserves a reset. The trick is knowing which reset. A soft reset clears a passing glitch. A hard reset wipes the programming back to factory defaults. Reach for the wrong one and you may erase the sensor calibration, travel limits, and paired remotes, turning a small fix into a reprogramming job. That’s the most common way a homeowner reset makes things worse.
Here’s how to tell the two apart:
- Soft reset: Cuts and restores power to the operator so its logic clears and reloads. Use it when the gate behaved oddly once, stopped at a random point, or ignored a remote for a single cycle. It’s the low-risk first move and keeps all your settings intact.
- Hard reset: Returns the board to factory settings, erasing limits and programming. It’s only appropriate when the openers behave as if the memory is corrupted or a setting clearly can’t be corrected, and it should follow a specific sequence for your brand. This is not a first step.
With platforms like Ghost Controls or Viking, the exact reset procedure differs, so check the manual for your model before attempting a hard reset. A soft reset is safe to try first in almost every case, and it’s often enough. If the gate keeps misbehaving after a soft reset, don’t loop through it repeatedly; that points to a real fault worth diagnosing. Whether it’s a LiftMaster or a FAAC, we already know the reset path. That’s what lets a Pembroke Pines diagnostic call reach an answer in minutes rather than a whole visit spent flipping through a manual.
The Five Root Causes Behind Most Gate Failures
Nearly every failure we see on a Pembroke Pines gate traces back to one of five causes. Sorting your symptoms into one of these buckets is the single most useful piece of troubleshooting you can do.
- Power fault. Breaker tripped, transformer failing, or battery backup dead. The gate may not move at all, move slowly, or chatter. Testing the breaker is a safe first step.
- Control board or logic failure. The board isn’t reading inputs correctly or has failed a component. Symptoms include inconsistent behavior, an error code that won’t clear, or the gate stopping at random points. Board work needs a technician.
- Sensor problem. Dirty, misaligned, or moisture-damaged safety sensors. The gate reverses before it closes or stops halfway. This is the most common cause behind “reverses for no reason” behavior.
- Mechanical bind. Failing hinge, off-track roller, or slack chain. The operator strains to move the gate or the gate drags. Often visible when you walk the gate by hand with power off.
- Operator drive wear. The motor or drive gear is worn. The gate struggles even when power, sensors, and mechanics check out. This is where a specialist’s eye matters, since it mimics a sensor fault from the outside.
Every call we take benefits from narrowing to one of these. Our technicians have up to 9 years of experience working through this diagnostic sequence, and getting to the correct category before opening the housing is what turns a full teardown into a targeted fix. If you’re staring at symptoms and can’t tell power from signal, stop guessing and let a specialist sort it. Call (877) 748-7198. We answer 24/7. Fast dispatch from 7am to 7pm, Sunday through Friday.
What Homeowners Can Safely Fix vs. What Needs a Technician
Some gate problems are safe to handle yourself. Others genuinely aren’t, and it’s worth being honest about where that line sits. The danger with electric gates is the operator’s electrical wiring and heavy panels that can move or crush. There are no torsion springs on a gate, but a heavy panel, a slide gate coming off its track, or a live electrical panel is just as unforgiving.
Reasonable DIY tasks:
- Cleaning sensor lenses with a soft cloth and clearing spider webs or debris.
- Wiping the mechanical path clean and checking for visible obstacles.
- Replacing remote batteries and re-pairing remotes according to the manual.
- Performing a soft reset by cutting and restoring power.
- Noting symptoms and error patterns for a technician.
Do not take these on yourself:
- Opening the control board or replacing board components – the board carries live voltage and a wrong move can burn out the operator.
- Touching any wiring, the transformer, or the power connection to the gate.
- Adjusting travel limits if you’re unsure which setting applies to your brand, since a bad adjustment can send the gate into the stops.
- Repairing a heavy slide gate that has come off track.
- Replacing a motor or drive gear.
The rule of thumb: if it involves the wiring, the board, or moving a heavy panel, stop. Limit and sensor adjustments you can reach safely and understand are fine. We’d rather diagnose a real fault than watch a homeowner risk injury trying to reach into a live panel. For the electrical side specifically, our team handles it as a defined service rather than a workaround.
How to Document Symptoms Before You Call
The best thing you can do before calling a gate repair company is a five-minute symptom log. It turns a diagnosis call into a conversation of minutes instead of a site visit spent figuring out what’s happening. Even in the winter, our Pembroke Pines schedule fills fast, so precision here gets you a correct visit on the first try.
Write down these items:
- The brand of your operator. LiftMaster, FAAC, BFT, Linear, Viking, Ghost Controls, DoorKing, Elite, or Mighty Mule – knowing this tells a technician which manual and parts to expect.
- What the gate does. Opens but won’t close. Closes then reverses. Stops halfway. Doesn’t move at all. Is it consistent or random?
- When it started. After rain, after a power outage, after a storm, or gradually over weeks. Timing narrows the cause.
- What you’ve tried. Soft reset? Remote battery? Cleaning sensors? Note it so nobody repeats a step.
- Any error indicators. Whether the board light is steady, flashing, or off, and how many flashes. Just record it; don’t open the housing further.
- Gate type and access. Manual or electric, swing or slide, and how to reach it, so the appointment can be planned.
With that list in hand, a technician can often name the likely cause before arriving. When you call, include the brand and the symptom pattern. It shortens the diagnosis and helps ensure the right parts come out with the visit. That’s the difference between a one-visit fix and a follow-up.
Common Mistakes to Avoid
A few habits cause more repeat failures than any other mechanical fault:
- Replacing hardware before diagnosing power and signal. New hinges won’t fix a sensor that’s reversing the gate. Work the layers in order first.
- Hard-resetting as a first step. Wiping the factory programming when a soft reset would have worked leaves you reprogramming limits and remotes, and can hide the real cause.
- Ignoring post movement after rain. In Pembroke Pines, a wooden post that swells and shifts in the humidity will keep knocking your sensors out of alignment. Fix the post, not just the sensor.
- Loosening sensor brackets to “test” them. Moving one sensor can break the beam angle for both. Clean lenses first; touch brackets only if you know the correct alignment.
- Using the remote as your only test. A dead remote battery looks identical to a gate failure. Test power and the keypad before blaming the operator.
- Letting rust in the hinges grow unchecked. A binding hinge strains the operator and shortens motor life. Catch it with a walk of the mechanical path.
- Calling a generalist to reset your board. A tech who doesn’t know your brand will spend the visit reading the manual. Brand fluency is what makes a diagnostic visit efficient.
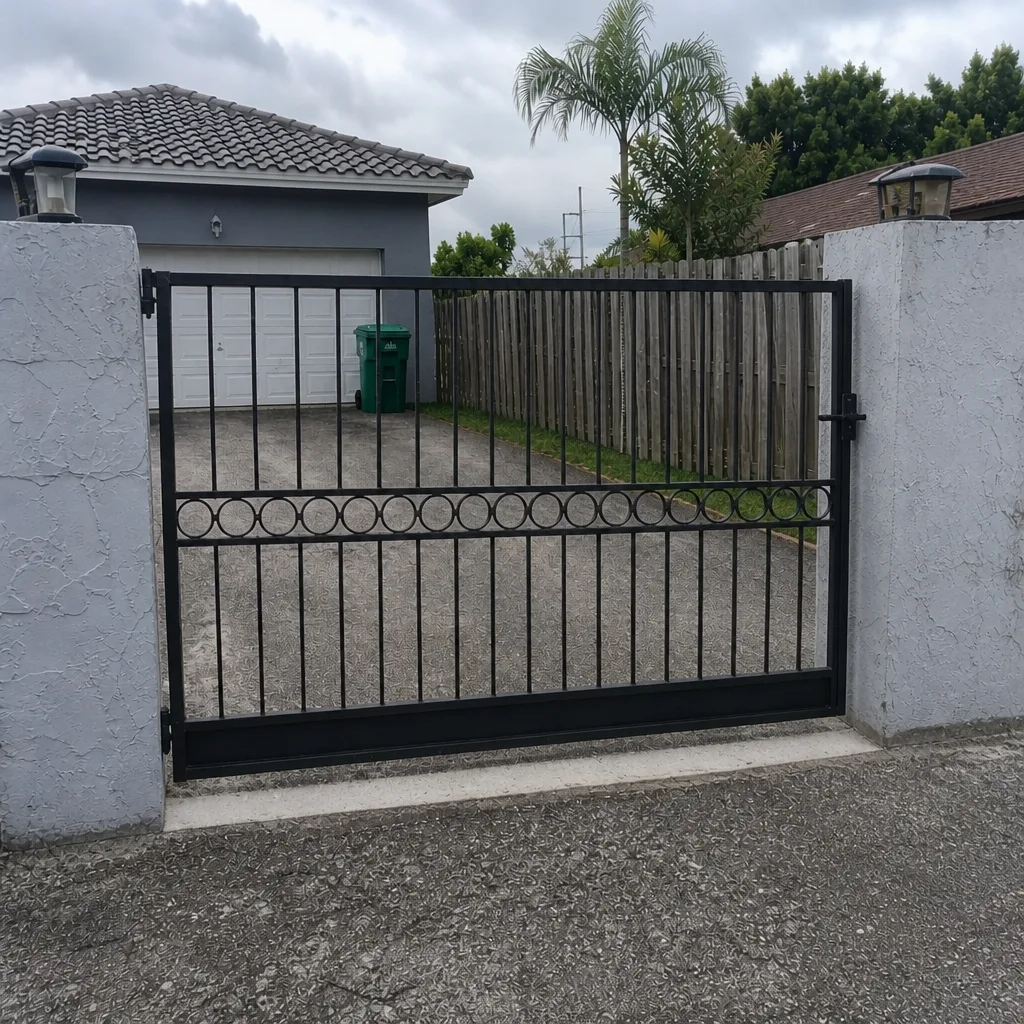
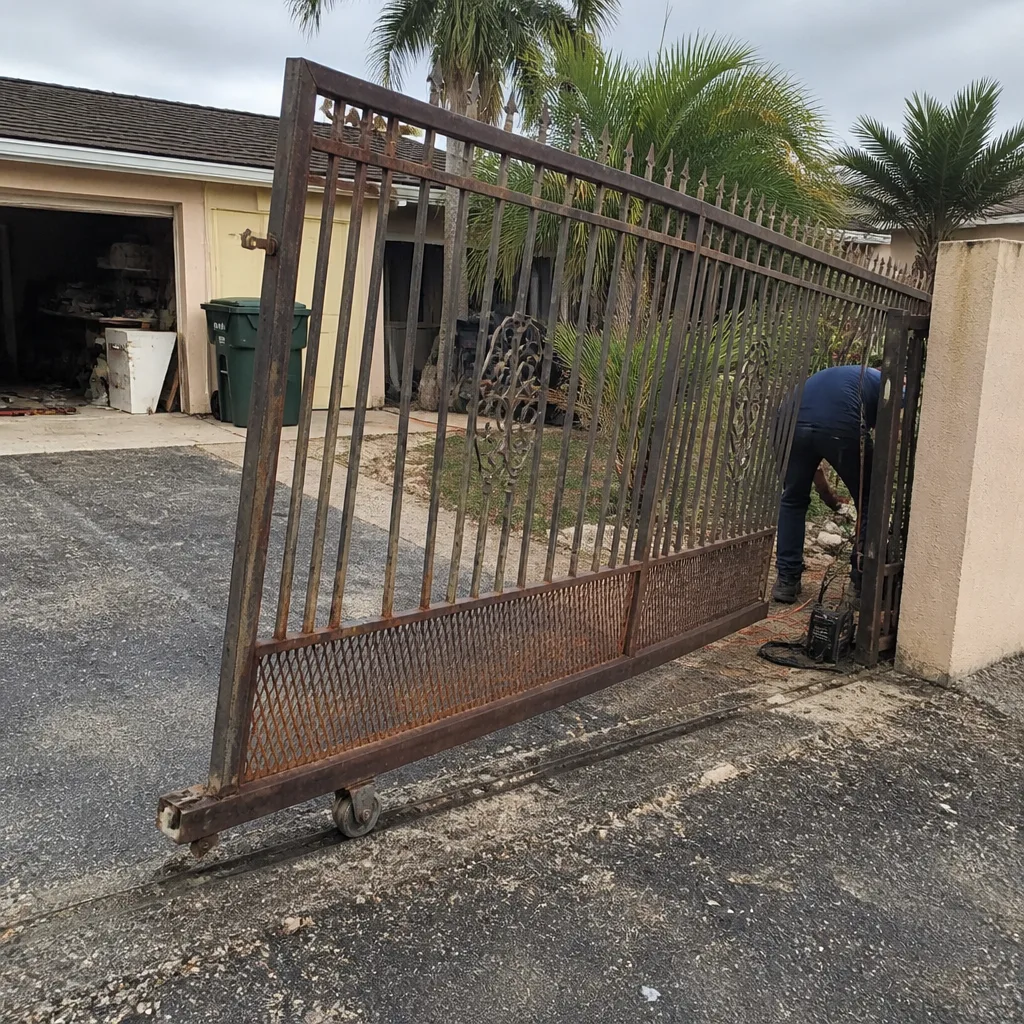
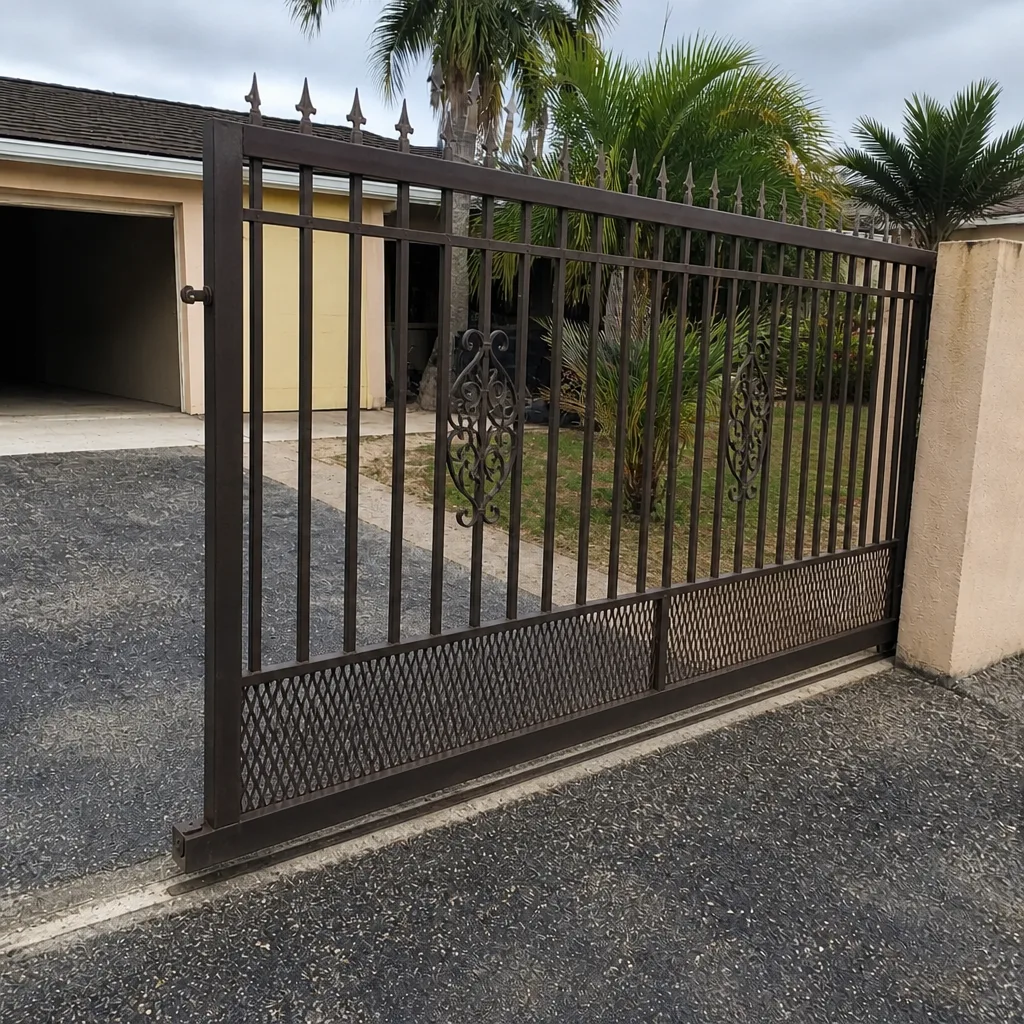
See the difference
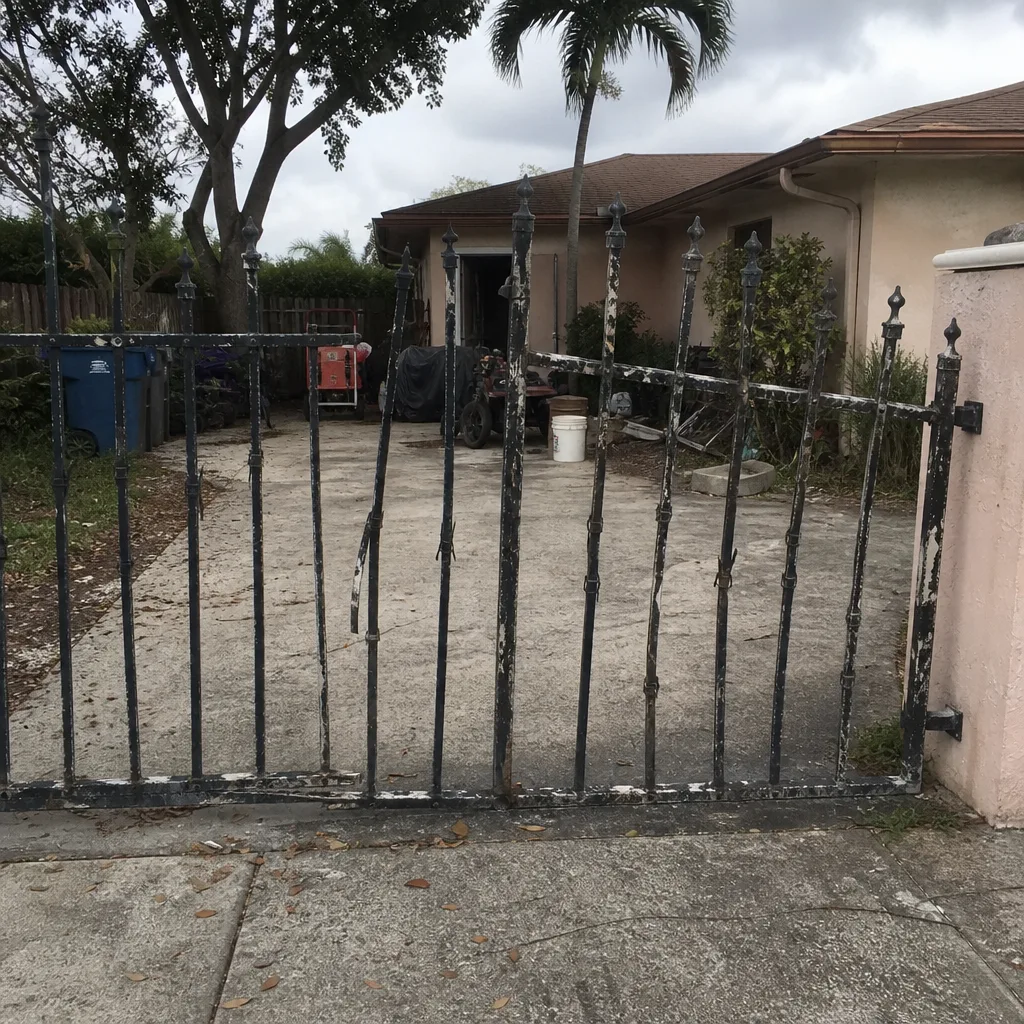 Before
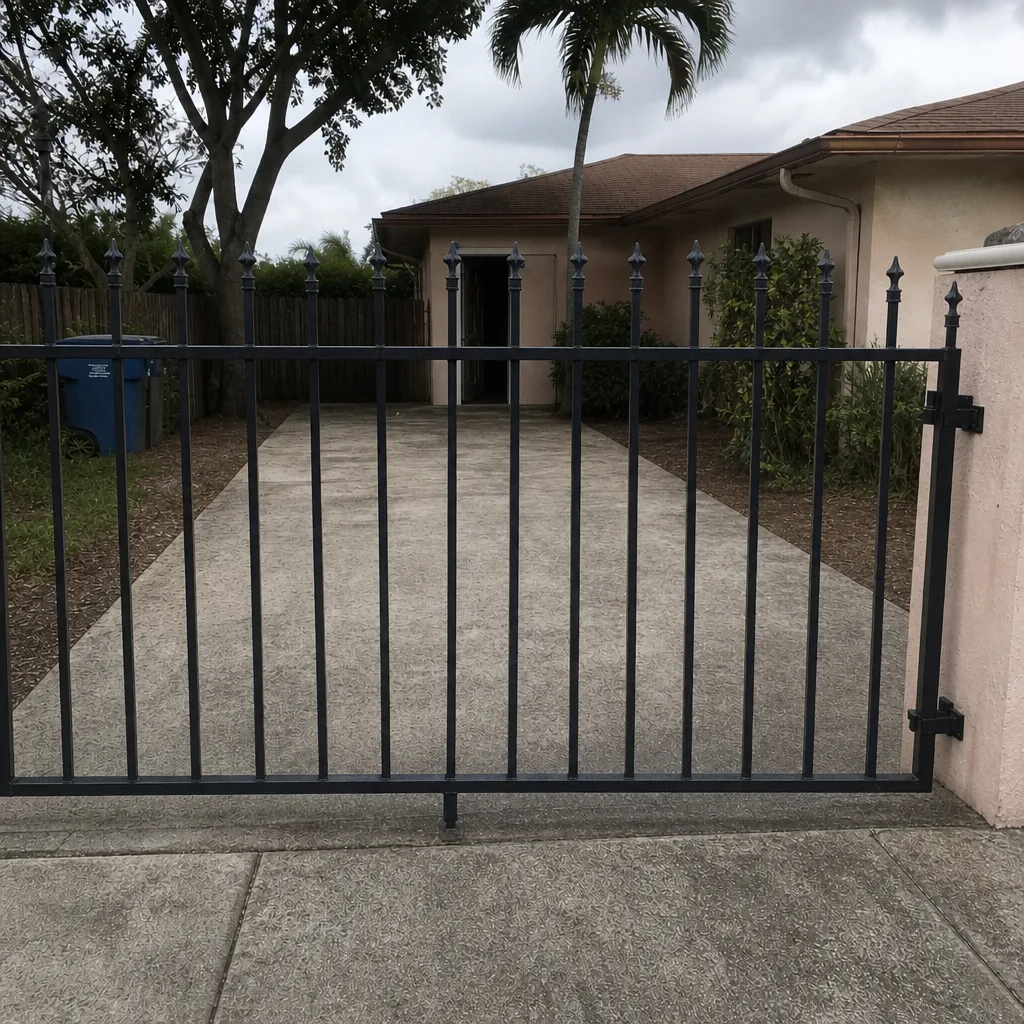 After
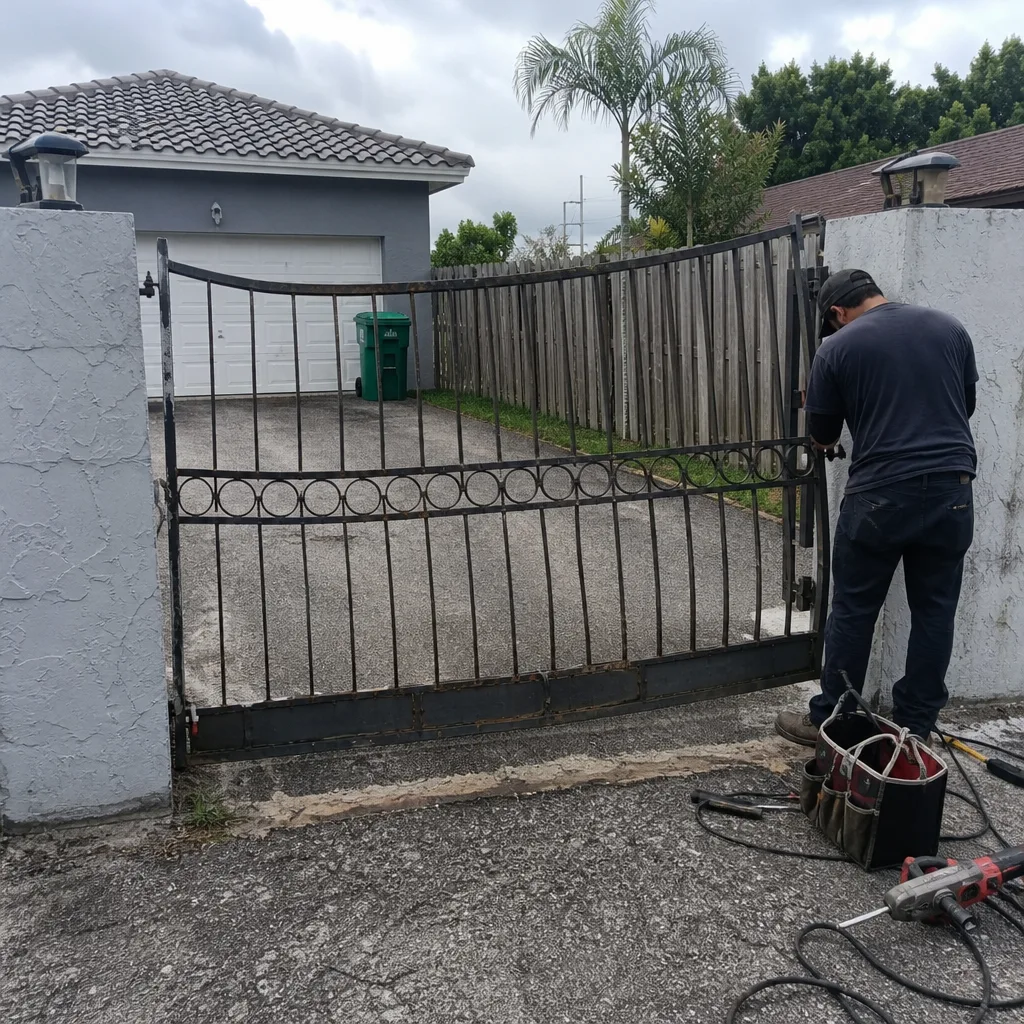 Before
 After
 Before
 After
When to Call a Professional
Call a professional when the fault is in the power or logic layer, when a heavy panel has come off its track, or when your gate reverses or stops randomly after you’ve done the safe steps. Those signs point to the board, the wiring, or the operator drive, and those are jobs for a trained technician. If your gate moves but misbehaves, or if it’s dead and the breaker isn’t the answer, that’s a specialist call. Don’t keep resetting a gate that repeats the same failure; that pattern is a real fault asking for diagnosis. Tidewater Gate Repair offers free estimates in Pembroke Pines – call (877) 748-7198. We work on gates, only gates, and we know the hardware before the visit.
Frequently Asked Questions
Your safety sensors are telling the operator something is in the way. Usually that’s a false obstruction caused by dirty lenses, a misaligned sensor bracket, or a wooden post that has shifted enough to take the beam out of spec. Clean the lenses first, then check whether the posts moved. If it repeats, call (877) 748-7198 for an exact diagnosis – estimates are free.
You can safely clean sensors, replace remote batteries, do a soft reset, and note symptoms. You should not open the control board, touch wiring, or repair a heavy panel that’s off track. Those carry a real risk of injury or damage, so they belong with a technician. When in doubt about the electrical side, call (877) 748-7198.
Humidity swells wooden posts and frames, warps the gate’s geometry, and throws alignment sensors out of spec. It also rusts hinges and rollers, adding resistance the operator has to fight. That’s why a gate that worked fine can start reversing when the weather changes. If a post has shifted, an alignment check will catch it.
A soft reset cuts and restores power so the operator clears its logic while keeping your settings. A hard reset wipes the board back to factory defaults and erases limits and paired remotes. Always try a soft reset first, and check your brand’s manual before attempting a hard reset, or ask a technician for the right sequence.
We service nine major gate brands: LiftMaster, FAAC, BFT, Linear, Viking, Ghost Controls, DoorKing, Elite, and Mighty Mule, across both residential and commercial systems. That coverage means our technicians already know your hardware. Call (877) 748-7198 to book a free estimate.
Yes, same-day service is available for gate and electric gate repairs. We answer 24/7, with fast dispatch from 7am to 7pm, Sunday through Friday. A call outside dispatch hours is booked into the next opening. Call (877) 748-7198. Estimates are free, and the price is agreed before any work starts.
Yes. The written estimate sets the final price, and you approve it before we touch the gate. Gate repair, electric gate repair, and installation are each priced per job by that estimate. Call (877) 748-7198 for a free estimate in Pembroke Pines.
The Bottom Line
Most gate failures in Pembroke Pines come down to one of five root causes, and the trick is to diagnose in layers: power, then signal, then mechanical. When a gate reverses before it closes, the sensors are lying to it; when it’s dead, the power supply is the first thing to test. Only after those checks should you suspect the board or the operator. Handle the safe parts yourself, document your symptoms by brand and behavior, and hand the electrical and board work to a technician. Our technicians have up to 9 years of experience working this sequence. To get a fast, correct diagnosis from a gate-only specialist, call (877) 748-7198 for a free estimate.
Written by the team at Tidewater Gate Repair.