
Last updated November 15, 2026
 Wrought iron
 Wood & steel frame
 Farm & ranch
 Sliding driveway gates
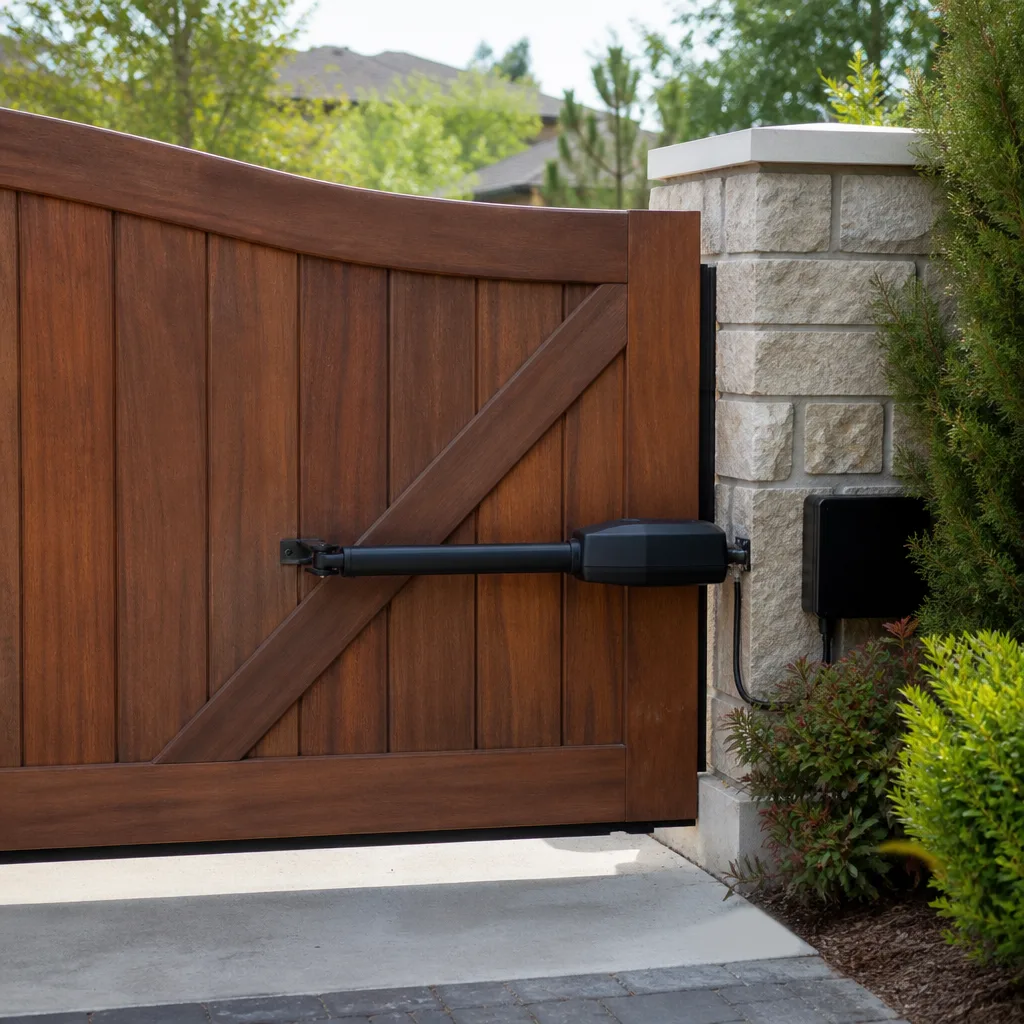 LiftMaster operators
Free on-site gate assessment - hinges, posts, and your LiftMaster or Nice gate operator checked before anything is quoted
The assessment is free and the quote is the invoice.
Get your free estimateGate Repair Maintenance Schedule: What to Do and When
Most gate maintenance advice is built around the calendar: check it in spring, check it in fall, call someone if it breaks. That approach ignores the thing that actually wears a gate out, which is how many times it opens and closes. A busy residential gate in a Pembroke Pines HOA can cycle well over a thousand times in a year, and a gate that runs that often needs attention on a rhythm set by its own use, not by a season on a wall chart. In this guide we’ll walk through a cycle-based schedule you can actually follow, from what to inspect at 500 cycles to what matters before storm season, plus the local conditions that shape every decision.
Quick Answer
A gate repair maintenance schedule should be driven by cycle count, not calendar dates. Inspect hinges, rollers, and the track every 500 cycles, check the operator and safety devices every 1,000 cycles, and schedule a full professional review around 2,500 cycles or once a year, whichever comes first. In Pembroke Pines, add a pre-storm-season check that covers anchor points, battery backup, and the manual release.
Styles & brands we work with
- Wrought iron
- Wood & steel frame
- Farm & ranch
- Sliding driveway gates
- LiftMaster operators
Table of Contents
- Why Cycle Counts Beat Calendar Reminders
- The Interval Schedule: What to Check at 500, 1,000, and 2,500 Cycles
- The Pre-Storm-Season Checklist for Pembroke Pines
- What Shows Wear First in South Florida Heat and Humidity
- The Lubrication Matrix: What Gets Silicone, What Gets Grease, What Gets Nothing
- How to Log Maintenance So a Technician Isn’t Starting From Scratch
- Manual Gates vs. Automated Gates: Different Schedules
- Common Mistakes to Avoid
Why Cycle Counts Beat Calendar Reminders
A gate doesn’t know what month it is. It knows how many times the motor has turned, how many times the hinge has swung, and how many times a roller has traveled down the same length of track. That’s the load that matters. A gate on a quiet residential street might open four times a day. A gate at the entrance of a Pembroke Pines community with several hundred homes, a package delivery flow, and visitors coming and going might cycle sixty or eighty times a day. Same hardware, same scheduled maintenance, wildly different wear.
Calendar-based schedules treat those two gates identically. Cycle-based schedules don’t. If you track cycles, you learn quickly which components are actually working hard and which are just along for the ride.
There’s a second reason cycle counting matters: most opener manuals and warranty tables are written around test-bench numbers that assume moderate use. A homeowner who reads “recommended service every three years” and follows it literally may be running their operator well past the load its manual was really describing. Cycle-based maintenance catches that before the motor or control board fails.
You don’t need a factory cycle counter to do this. Most modern operators built by LiftMaster, FAAC, BFT, or similar makers will log cycle counts in their controller, and a technician can pull that number on a service call. If yours doesn’t, a simple log kept by whoever opens the gate is close enough. The point is to shift your thinking from “when did we last check it?” to “how much has it worked since then?”
The Interval Schedule: What to Check at 500, 1,000, and 2,500 Cycles
Here’s the schedule we recommend as a starting point. Adjust it up or down based on what your gate tells you in the field, but treat these intervals as the floor.
At 500 Cycles
- Hinges and pivot points. Look for play, squeaking, or visible wear at the hinge pin. A hinge that has started to bind will stress the operator next.
- Rollers and track (sliding gates). Check for flat spots on the rollers and debris in the track. A single leaf or palm frond caught in the track is enough to bend a roller.
- Obstruction sensors. Wipe the lenses and confirm the beam breaks cleanly when something passes through. Dirty sensors cause phantom reverses, which quietly double your cycle count.
- Fasteners. Run a quick visual pass over bracket bolts and anchor hardware. Loose bolts are easier to catch now than after they’ve elongated a hole.
At 1,000 Cycles
- Operator housing and motor. Listen for grinding or inconsistent speed. Check that the housing is clean and free of insect nests, which are common in Pembroke Pines garages and gate enclosures.
- Limit switches. Confirm the gate stops in the same position every time. Drift in the limit switches is often the first sign the operator arm is straining.
- Safety edges and reverse function. Test the reverse-on-contact feature with a light object. This is a safety function, not a convenience feature, and it belongs on the schedule whether or not anything seems wrong.
- Battery and backup. Load-test the backup battery. A battery that passes a voltage check can still fail under an actual load, so test the gate in a simulated power-off condition.
- Wiring and connections. Check that any exposed low-voltage wiring is intact, secured, and not chafed.
At 2,500 Cycles (or Once a Year, Whichever Comes First)
- Full professional inspection. This is the point where a technician should see the gate in person. Our technicians have up to 9 years of experience and know what to look for across the nine brands we service, from Mighty Mule residential operators to DoorKing and FAAC commercial platforms.
- Anchor and post integrity. Verify that posts are plumb and anchors are tight. This is a structural check, not a cosmetic one.
- Gearbox and drive components. Inspect for wear in the gear train and check for the start of any lubrication breakdown.
- Control board and logic. Confirm that the board’s behavior matches its settings. If anything has drifted, correct it now rather than after a failure.
If your gate is on a Pembroke Pines property with heavy traffic flow, consider running the 500-cycle items every 300 to 400 cycles instead. Conversely, a low-use manual gate may stretch these intervals. Use the schedule as a starting point, not a straitjacket.
The Pre-Storm-Season Checklist for Pembroke Pines
Storm season in South Florida runs roughly June through November, and a gate that fails the week a storm arrives is a bad scenario to discover. Run this checklist in the weeks before the season starts. This is the kind of preparation that costs a couple of hours and prevents days of inconvenience.
- Anchor points. Walk the gate line and check every anchor bolt, bracket, and post. A gate that has shifted slightly over the year may still work in calm weather but struggle in wind load. Tighten, adjust, or flag anything that has moved.
- Manual release. Locate the manual release on the operator, actually use it, and confirm the gate fully disengages. Then re-engage it and confirm the operator resumes control. A manual release that has seized over a season of disuse is a real problem when the power is out.
- Battery backup. Simulate a power loss and confirm the gate completes at least one full open and close cycle on backup power. If the battery is old, replace it now. Don’t wait for a storm to test it.
- Safety edges and reverse. Test again, as noted above. Storm season is when limbs and debris end up in the gate’s path, and the reverse feature is what prevents damage or injury when that happens.
- Wiring and conduit. Check that any exposed wiring is in good condition and that conduit is secure. Storm prep is not the time to discover a loose cable.
- Track and clearance. Clean the track and confirm the gate has full clearance across its entire travel path. Overhanging vegetation is common in Pembroke Pines, and a branch that sags in a heavy rain is enough to stop a slide gate mid-cycle.
If you’re not comfortable running these checks yourself, a professional electric gate repair visit before storm season is a sensible call. It’s cheap insurance against a nasty surprise in July.
What Shows Wear First in South Florida Heat and Humidity
Your gate hardware is exposed to heat, humidity, and seasonal rain, and that combination eats certain components faster than others. The order of failure is fairly predictable.
- Hinges and hinge pins. These are usually the first to show rust because they sit in tight spaces where moisture lingers and where lubrication is often overlooked. A thin rust film on a hinge pin becomes a stiff hinge becomes a strained operator.
- Rollers and bearings. Sliding gate rollers see both load and exposure. Ball bearings with dry grease are especially vulnerable. Once a roller starts to drag, the track wear accelerates.
- Exposed low-voltage wiring and connectors. Wiring terminations that aren’t fully sealed will corrode at the contact points, causing intermittent failures that are hard to trace. This is one of the reasons control board issues sometimes turn out to be wiring issues.
- Control board terminals. Indoors or in a housing, the terminals on the board can still pick up corrosion over time. Ask your technician to inspect them at each professional service.
- Fasteners and anchors. Non-stainless hardware will pit and rust, and once an anchor begins to corrode it loses holding power. Stainless hardware and regular inspection are the practical response.
A proactive treatment schedule is worth more than a repair schedule when it comes to corrosion. Clean and dry components after heavy rain, apply an appropriate protectant to exposed metal, and replace any fastener that starts to show rust before it fails in place. Treat the early signs as a signal, not a cosmetic issue.
The Lubrication Matrix: What Gets Silicone, What Gets Grease, What Gets Nothing
Lubrication is the most misunderstood part of gate maintenance. More gates fail from over-lubrication than from under-lubrication. Here’s how to think about it.
Components That Take Silicone Spray
- Hinge pins and pivot points (a light silicone spray, wiped clean after)
- Roller surfaces on sliding gates
- Any metal-to-metal contact point that moves through a short arc
- Weather seals on the operator housing
Components That Take Grease
- Gearboxes and gear trains (use the manufacturer’s specified grease)
- Operator drive chains and chain guides
- Heavy-load pivot bearings on large swing gates
Components That Should Never Be Lubricated
- Track surfaces. A lubricated track collects grit and dust and turns into an abrasive paste that wears the rollers faster. Keep the track clean and dry.
- Safety edge sensors and photo-eye lenses. These need to stay clean and dry, not slick.
- Control board terminals. Lubrication here attracts dust and can cause shorts.
- Brake pads or friction surfaces. Adding lubricant to a friction surface is the opposite of what it needs.
A general rule that’s served us well on Pembroke Pines gates: if it slides along a surface, keep it clean and dry. If it rotates or pivots, keep it lightly lubricated. If it makes electrical contact, keep it clean and dry. That’s most of the decision right there.
How to Log Maintenance So a Technician Isn’t Starting From Scratch
A gate that arrives at a service call with no history means the technician has to spend the first twenty minutes figuring out what’s been done, what’s been replaced, and what’s overdue. A good log skips all of that.
You don’t need anything fancy. A simple notebook or a shared note on a phone works. Here’s what to record:
- Date and cycle count. Every time you do a check or a repair, log the date and the operator’s cycle count at that moment. This is the single most useful data point.
- What was checked and what was replaced. “Inspected hinges, replaced roller #3” is perfect. You don’t need paragraphs.
- Who did the work. Whether it was a homeowner check or a professional visit, log it.
- Any issue that was noticed but not fixed. “Battery backup weak, replace next service” is exactly the kind of note that prevents a surprise later.
- Operator model and brand. Keep this at the top of the log. If the operator is a specific brand such as a LiftMaster or Mighty Mule unit, note the model number. It saves time when parts need to be sourced.
When a technician arrives with a good log, they can jump straight to the components that are due for service and skip the diagnostic guesswork. That’s the difference between a short, focused service call and a long exploratory one. It also means the technician can flag something the log doesn’t show, such as slow hinge wear or a slightly drifted limit switch, because they aren’t spending their time reconstructing the gate’s history.
If you’re a landlord or property manager, this log becomes even more valuable. It’s the record that shows whether a gate has been maintained, which brand of operator is installed, and when the last safety check happened.
Manual Gates vs. Automated Gates: Different Schedules
Manual and automatic gates wear differently, and the maintenance schedule should reflect that.
Manual Gates
Manual gates don’t have operators, so the wear is concentrated in three places: hinges, pivots, and any sliding hardware. The cycle counting still applies, but the schedule can be looser, because you don’t have a motor and control board to protect. The main risk with a manual gate is that the hinge binds and nobody notices until a hinge pin shears or a post starts to pull. Check the hinges and pivots more often than you think you need to, particularly on heavy gates. A gate that swings easily by hand is a gate that will last.
Automated Gates
Automated gates have the entire manual gate wear profile plus the operator, the control board, the safety devices, the limits, and the battery. That’s why the cycle-based schedule for an automated gate includes checks on the operator at 1,000 cycles and a full service at 2,500. The operator itself is the expensive piece, and protecting it means catching the mechanical wear before it puts strain on the motor. Whether you run a residential operator from LiftMaster or Mighty Mule, or a commercial-grade unit from FAAC, BFT, or DoorKing, the principle is the same: the mechanical wear shows up first, and the operator fails second if it isn’t caught. This is the kind of pattern our trade focus lets us catch quickly, because every call we run is a gate call.
If you’re not sure which category your gate falls into or want a starting schedule mapped to your specific setup, an on-site visit is the right way to begin. We work on gates – only gates, which means we’re not splitting our attention across a dozen other trades.
Common Mistakes to Avoid
- Lubricating the track. This is the most common maintenance mistake we see on Pembroke Pines gates. A slick track collects grit and becomes abrasive, and the wear on rollers accelerates.
- Ignoring the hinge pins until they squeak. By the time a hinge is audible, it’s already binding. The strain on the operator has begun. Check the hinge pins on the schedule, not when you hear them.
- Skipping battery backup testing. A backup battery that passes a voltage check can still fail under load. If you’ve never simulated a power failure, you don’t know whether your battery will actually carry the gate.
- Combining calendar and cycle schedules inconsistently. Pick one primary schedule. Some people check by season, some by cycle count, and end up missing entire component groups. Choose cycle-based, and use the calendar only as a backup reminder.
- Not logging maintenance. Without a log, a service technician restarts from zero every visit. Keep it simple, but keep it.
- Doing electrical work yourself on an automated gate. The operator wiring and power connections are the dangerous part of an automated gate. If the issue is in the control board or the wiring, that’s a job for a trained professional, not a homeowner with a multimeter and a video tutorial.
- Ignoring the manual release. A manual release that hasn’t been used in years can seize. Test it every storm season. It’s the difference between having a gate and not having one during a power outage.
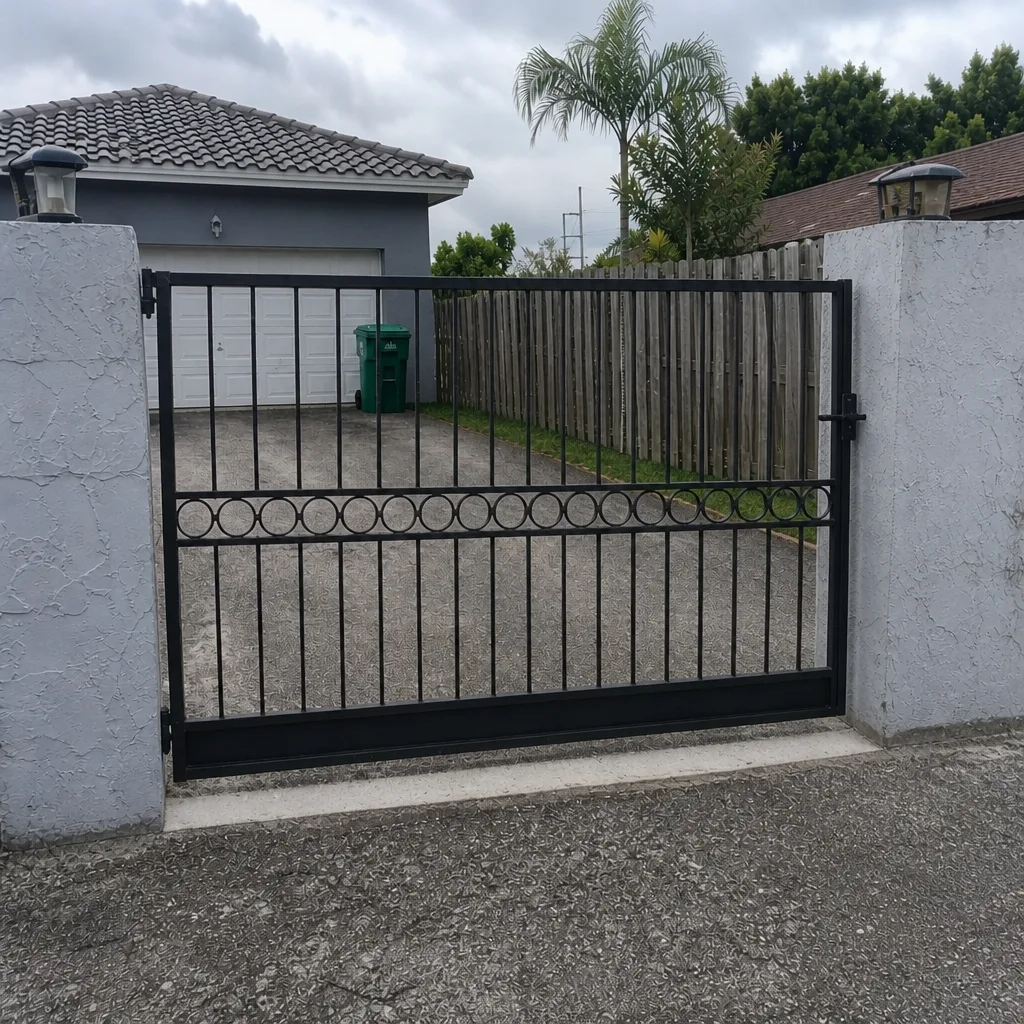
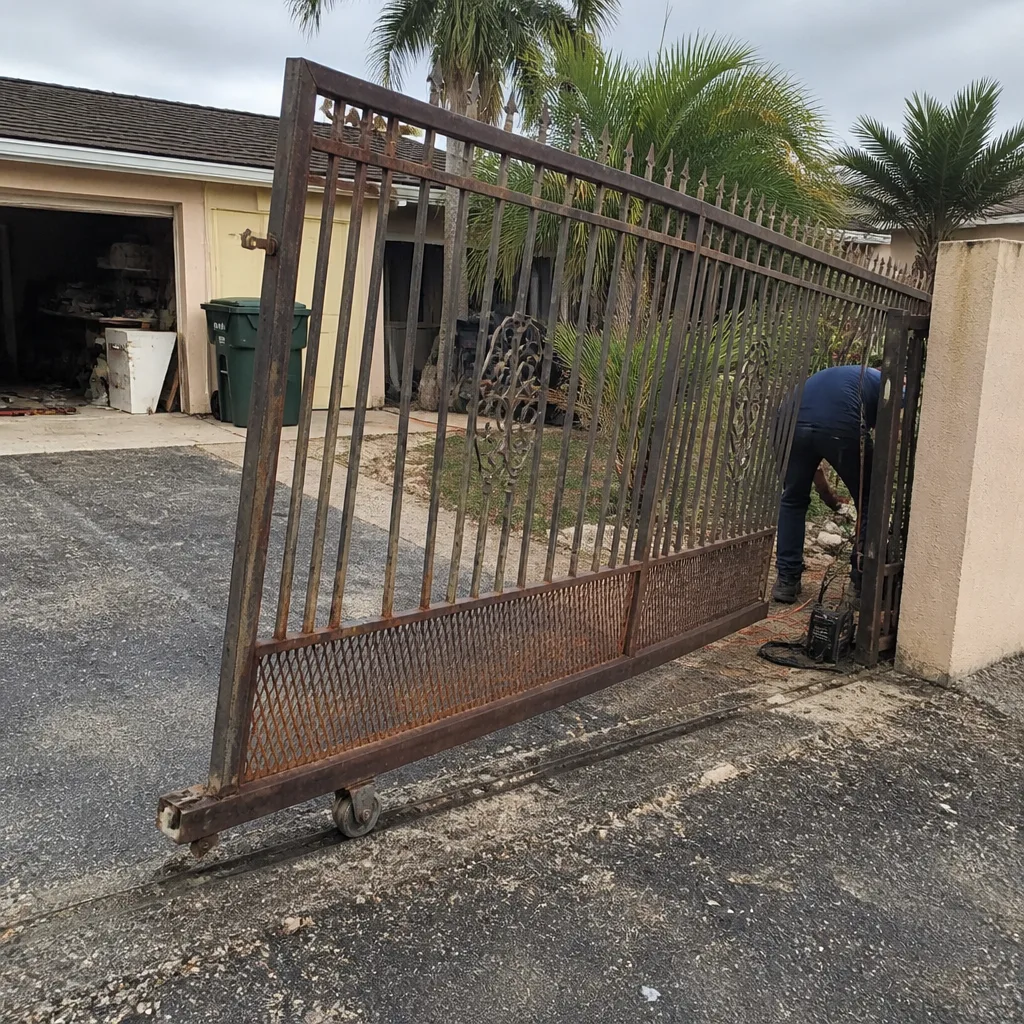
See the difference
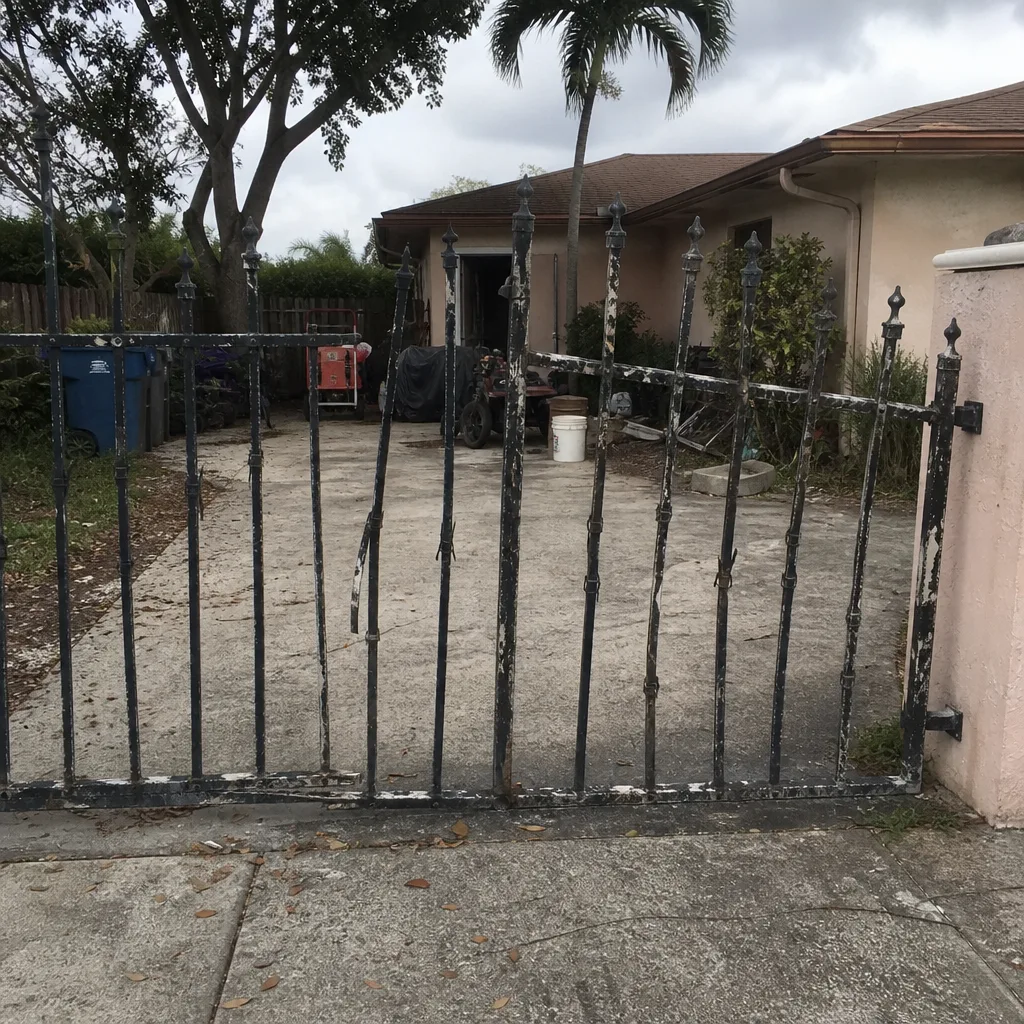 Before
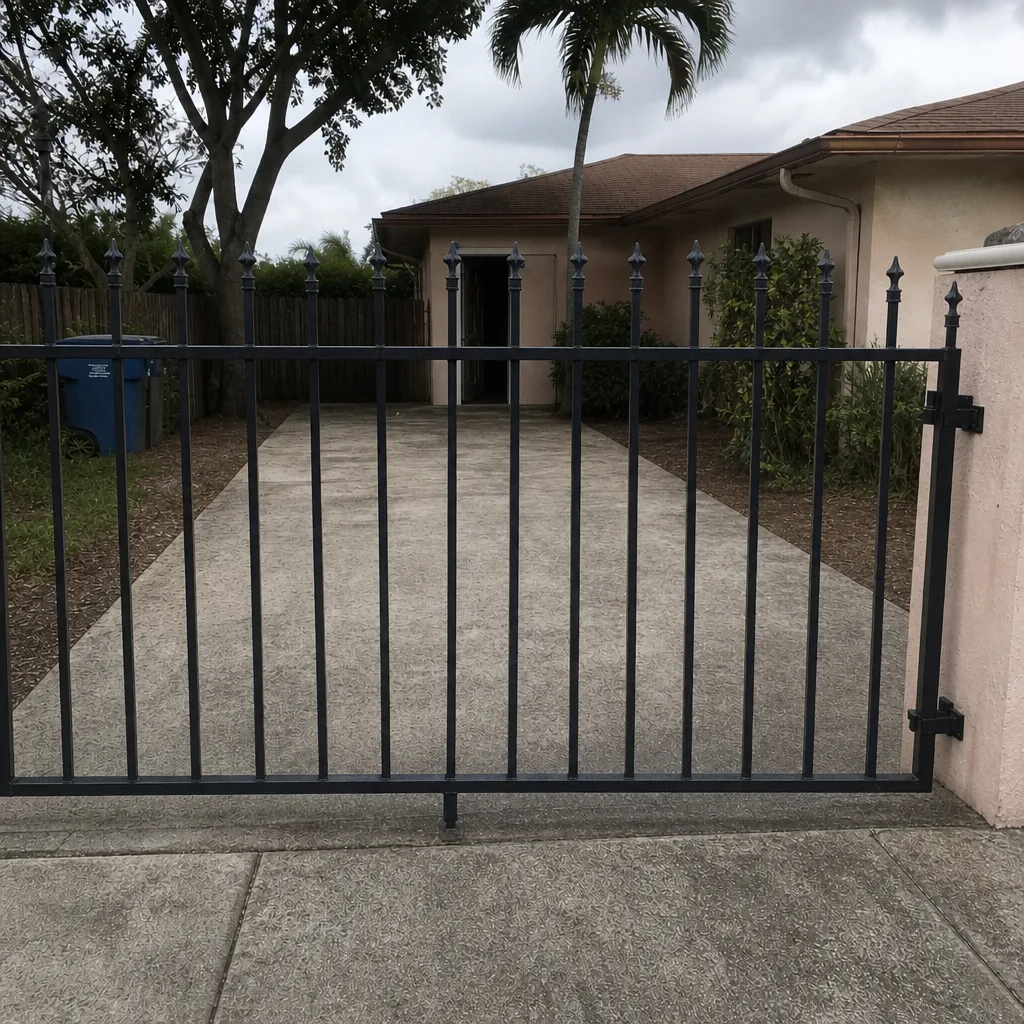 After
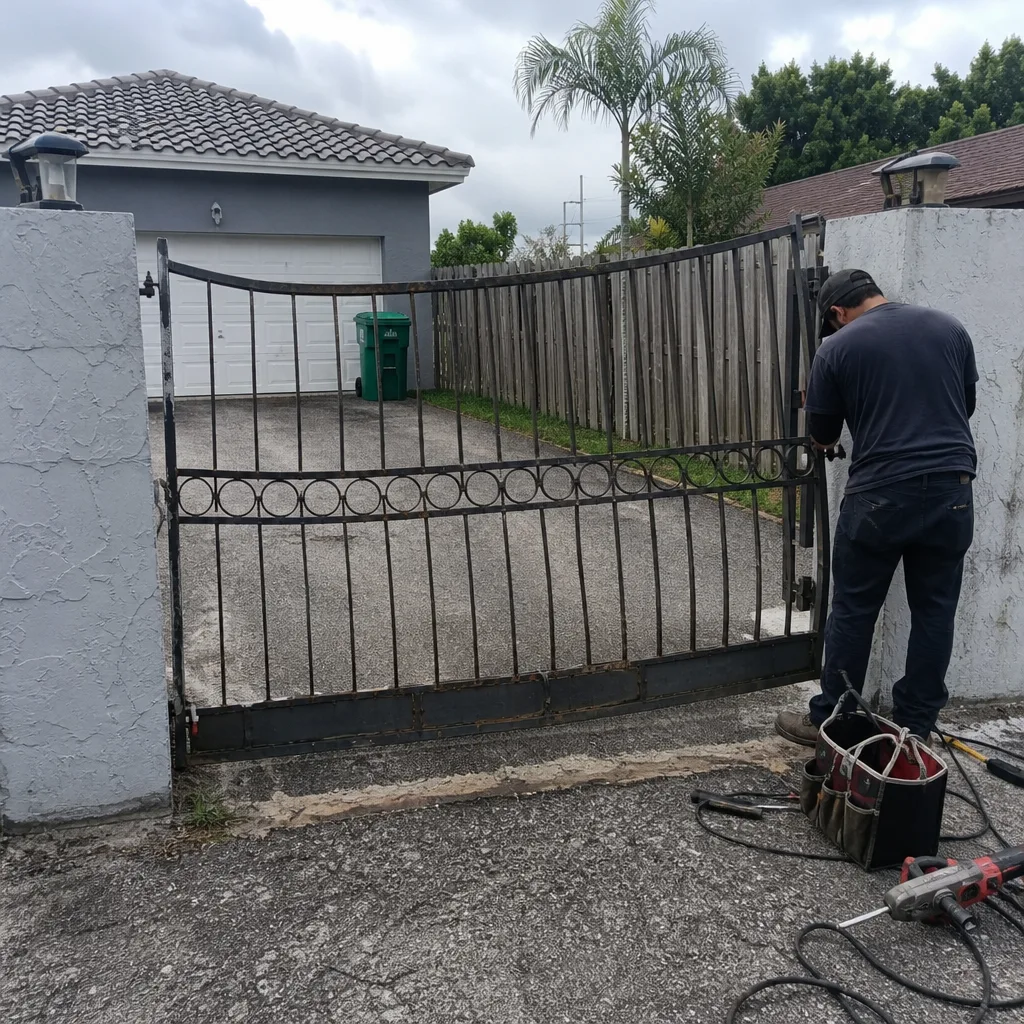 Before
 After
 Before
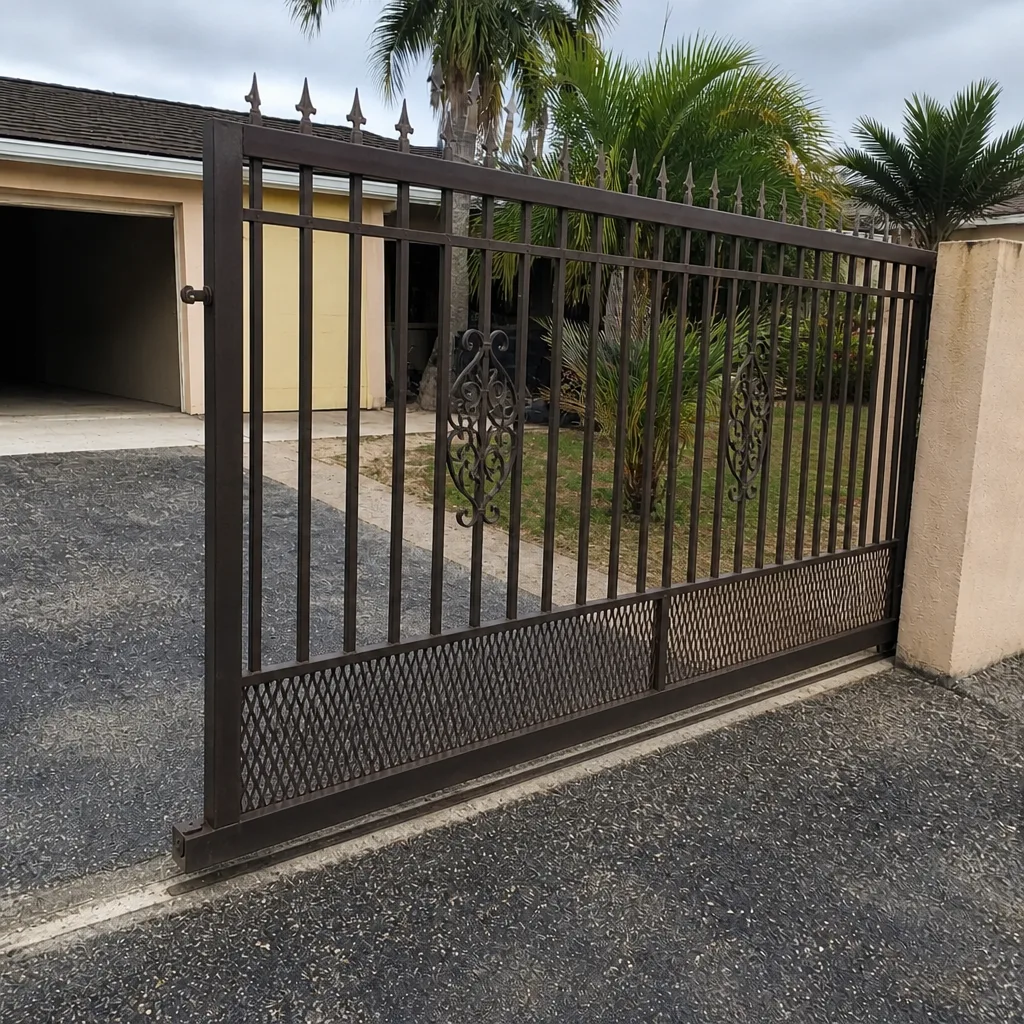 After
When to Call a Professional
Some maintenance tasks belong on your schedule. Some belong on ours. Call a professional when the control board or operator wiring is involved, when a safety device is behaving erratically, when the gate has started stopping short or reversing for no obvious reason, when a post or anchor is visibly loose or shifted, or when the manual release has seized. These are the situations where diagnosing wrong can turn an inexpensive repair into a control board or operator replacement. A technician who works on gates every day can identify the brand, check the log if you have one, and spot the specific wear pattern in a way that a general handyman typically can’t. Tidewater Gate Repair offers free estimates in Pembroke Pines. Call (877) 748-7198. We answer 24/7. Fast dispatch from 7am to 7pm, Sunday through Friday.
Frequently Asked Questions
A cycle-based schedule is best: inspect hinges, rollers, and the track every 500 cycles, the operator and safety devices every 1,000, and a full professional review around 2,500 cycles or once a year. In Pembroke Pines, add a pre-storm-season check each spring that covers anchor points, battery backup, and the manual release. Call (877) 748-7198 for an exact schedule on your gate – estimates are free.
Check the anchor points and posts first, then test the battery backup under a simulated power loss, then confirm the manual release works and re-engages cleanly, then test the safety edges and reverse function. Also clean the track and confirm full travel clearance. If anything is off, a pre-season visit is a good idea. Call (877) 748-7198 for a free estimate.
Hinge pins, pivots, and roller surfaces take light silicone spray. Gearboxes, chains, and heavy pivot bearings take grease. Track surfaces, sensor lenses, control-board terminals, and brake surfaces should stay dry and clean. Over-lubricating the track is the most common mistake. If you’re unsure, call (877) 748-7198 for a free estimate.
Most modern operators log cycle counts in their controller, and a technician can pull the number on a service call. If yours doesn’t log cycles, you can estimate based on how often the gate opens and closes each day and multiply. Call (877) 748-7198 if you’d like help interpreting your operator’s count.
A manual gate needs hinge, pivot, and sliding hardware checks, and the schedule can be looser because there’s no operator to protect. An automated gate adds operator, control board, safety devices, limits, and battery to the schedule. The cycle intervals for the mechanical parts stay the same. Call (877) 748-7198 with questions about your specific setup.
We service nine major gate brands across residential and commercial applications, including LiftMaster, FAAC, BFT, Linear, Viking, Ghost Controls, DoorKing, Elite, and Mighty Mule. Whether your property runs a LiftMaster or a FAAC, we already know the system. Call (877) 748-7198 for a free estimate.
The Bottom Line
A gate maintenance schedule works best when it’s built around cycle counts, not the calendar. Inspect the moving parts every 500 cycles, the operator and safety devices every 1,000, and get a professional review at 2,500 or once a year. In Pembroke Pines, add a storm-season checklist each spring that covers anchors, battery, and manual release. Keep a simple log so your technician can see the gate’s history at a glance. Skip the track on your lubrication routine. Catch hinge and roller wear early, and the operator lasts much longer. That’s most of the work, and most of the value. If you’d rather have a specialist take a look, Tidewater Gate Repair handles gate repair for properties across Pembroke Pines. Call (877) 748-7198 for a free estimate. We answer 24/7. Fast dispatch from 7am to 7pm, Sunday through Friday. Learn more about Tidewater Gate Repair.
Written by the team at Tidewater Gate Repair.