
Last updated November 15, 2026
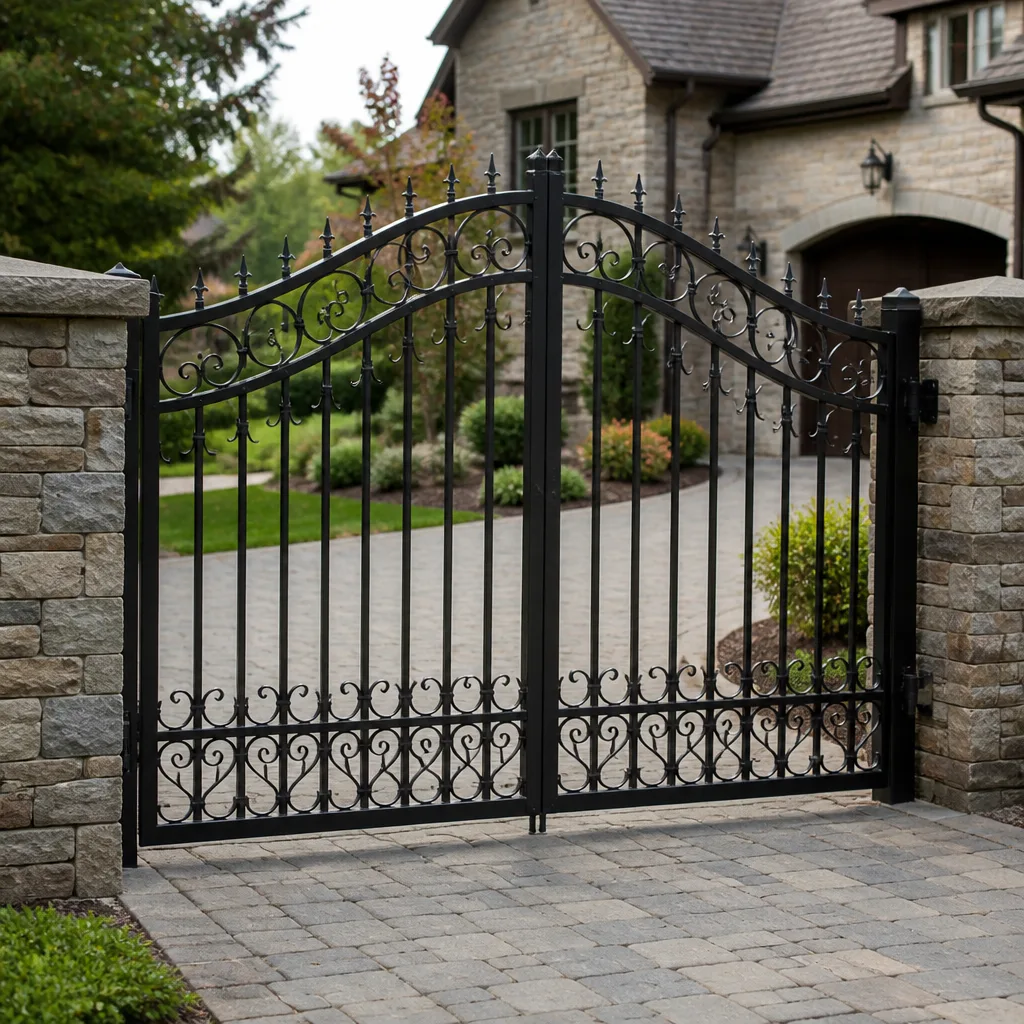 Wrought iron
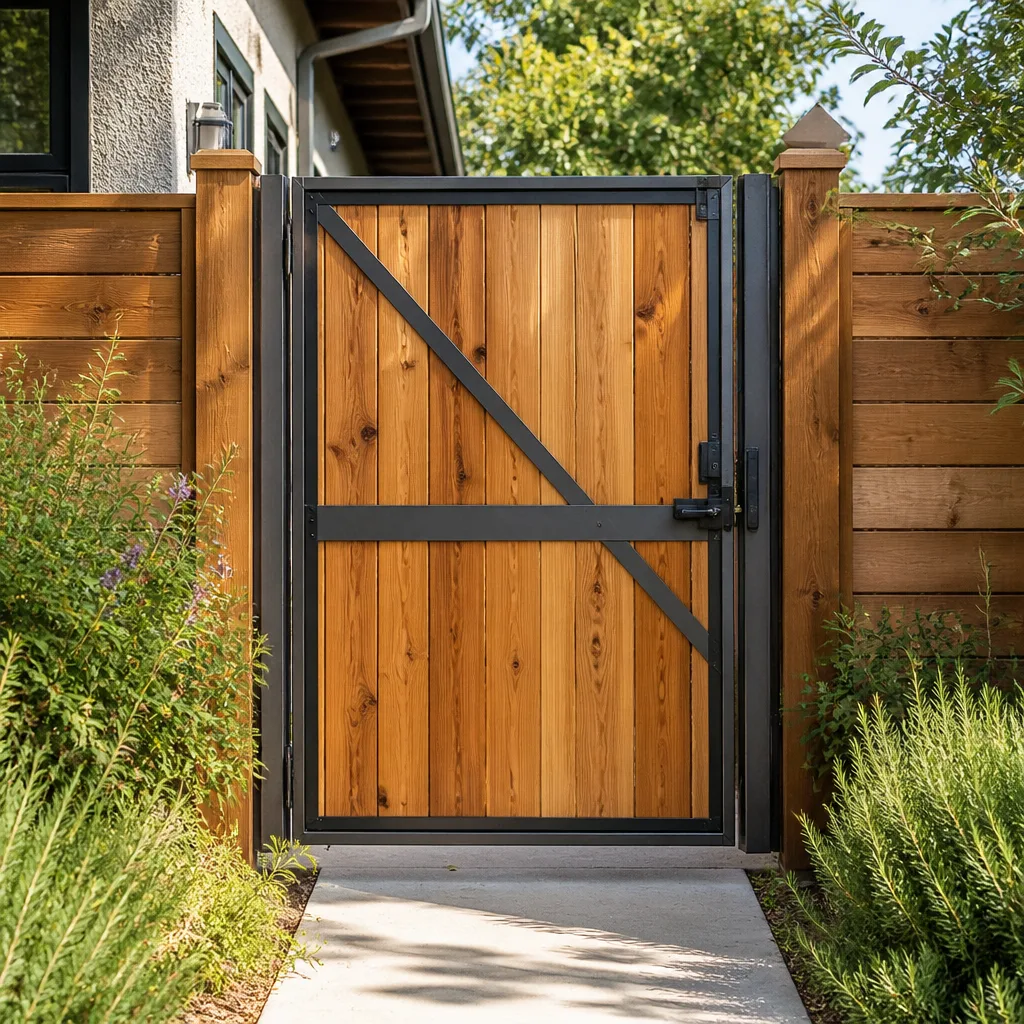 Wood & steel frame
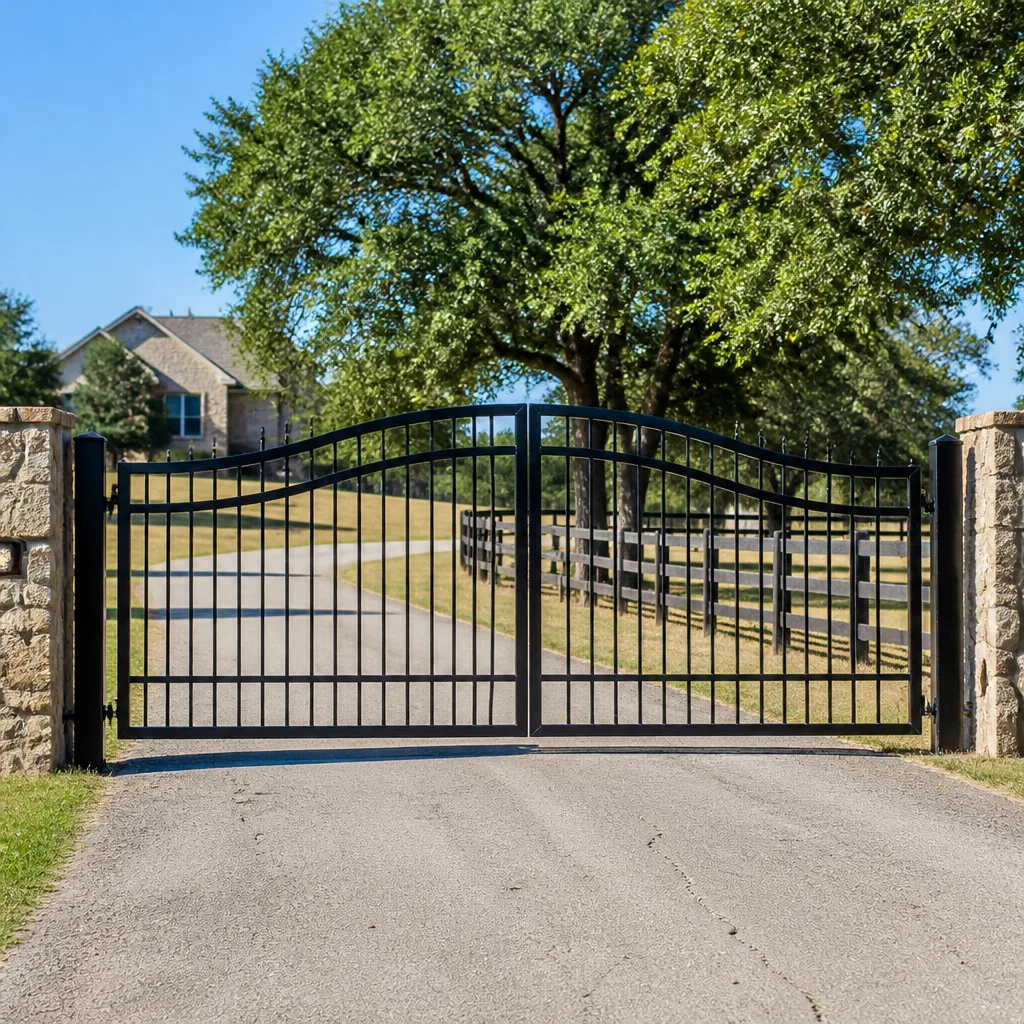 Farm & ranch
 Sliding driveway gates
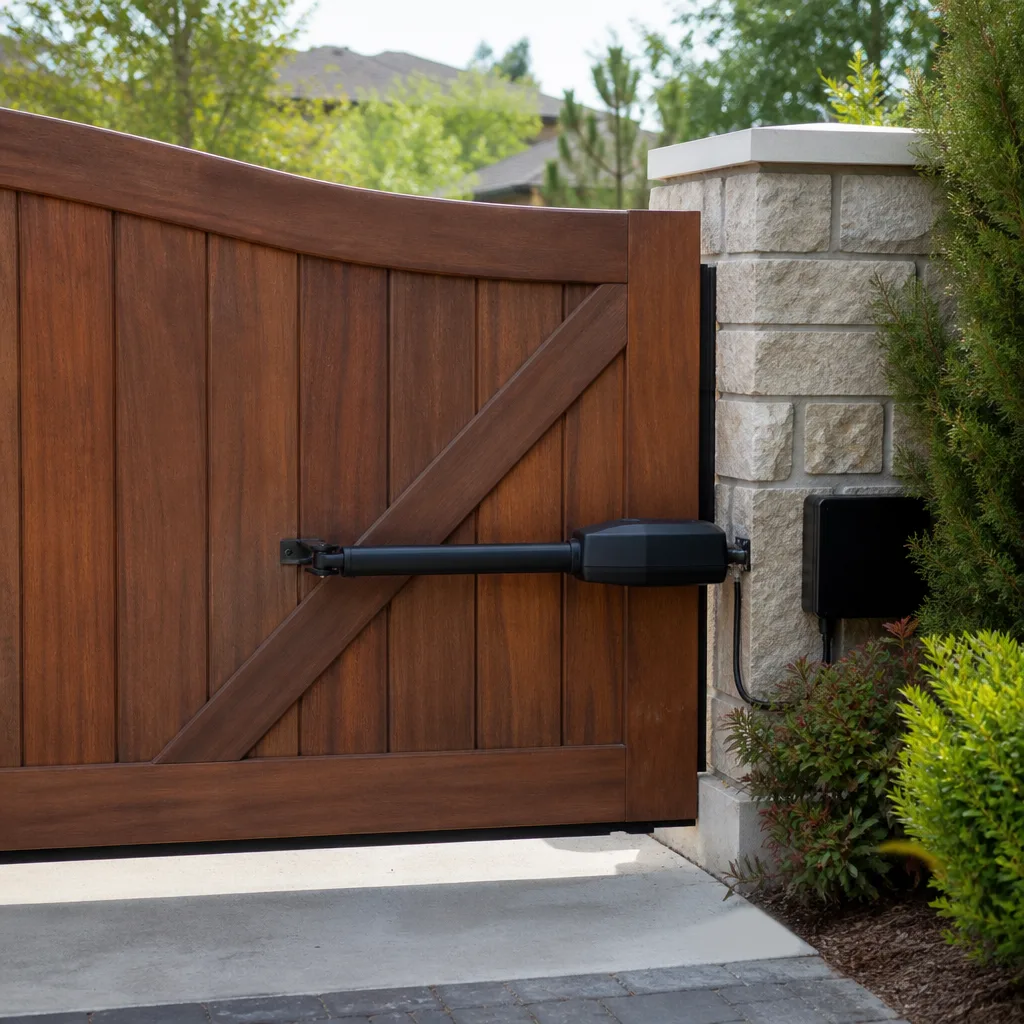 LiftMaster operators
Free on-site gate assessment - hinges, posts, and your LiftMaster or Nice gate operator checked before anything is quoted
The assessment is free and the quote is the invoice.
Get your free estimateGate Repair Maintenance Checklist for Pembroke Pines Homeowners
Lubricating a gate track that hasn’t been cleaned first is one of the most common maintenance mistakes in humid climates. The grease feels like protection, but what it actually does is trap grit against the rollers and grind it into the metal every time the gate moves. In Pembroke Pines, where the air holds moisture most of the year and the sun works on exposed finishes every afternoon, the order you do things in matters more than how often you do them. This guide lays out a maintenance checklist sequenced by what actually fails first here, split into monthly, quarterly and annual tasks, with cycle-count math so you know when to schedule service. Mention Pembroke Pines once.
Styles & brands we work with
- Wrought iron
- Wood & steel frame
- Farm & ranch
- Sliding driveway gates
- LiftMaster operators
Quick Answer
A gate maintenance checklist for Pembroke Pines should inspect wiring connections first, then fasteners, then rollers, then the operator, because humidity and daily cycle counts wear those components in that order. Clean before you lubricate, check the control board housing for condensation, and estimate your gate’s daily cycles to set realistic service intervals. Most residential gates in Pembroke Pines need a full inspection every six months and lubrication every quarter, not once a year.
Table of Contents
- Why the Order of Your Inspection Matters More Than the Frequency
- Step 1: Wiring Connections and Low-Voltage Terminals
- Step 2: Fasteners, Hinges and Post Anchors
- Step 3: Rollers, Tracks and Guide Rails
- Step 4: Operator Components and the Control Board Housing
- Which Lubricants and Cleaners Actually Work in South Florida Humidity
- How to Estimate Your Gate’s Daily Cycles and Set Service Intervals
- Your Printable Monthly, Quarterly and Annual Task Split
- Common Mistakes to Avoid
- When to Call a Professional
- Frequently Asked Questions
- The Bottom Line
Why the Order of Your Inspection Matters More Than the Frequency
Most maintenance advice tells you to check everything on a schedule. That works in a dry climate. In Pembroke Pines, the order you inspect in determines whether you catch a problem before it becomes a repair. Humidity cycling does specific things to gate hardware: it loosens terminal screws through repeated expansion and contraction, it creeps into control enclosures overnight and condenses when the morning sun hits the housing, and it softens wood posts enough that anchors work loose over a season. Those three failure modes happen before rollers wear out and long before the operator motor gives up.
We work on gates, only gates, and our technicians have up to 9 years of experience watching components fail in the order the climate dictates. What we’ve learned is that a homeowner who checks wiring connections every quarter will catch the loose terminal that causes intermittent operator faults months before it burns out a control board. A homeowner who only lubricates the track will discover the same fault when the gate stops responding entirely.
The sequence below follows that logic. Wiring first, because it’s the cheapest thing to catch and the most expensive thing to miss. Fasteners second, because a loose hinge puts stress on every other part of the gate. Rollers third. Operator components last, because by the time you reach them you’ve already eliminated everything that could be causing a false symptom.
For a broader look at what falls under gate repair, that page covers the repair side in detail. This checklist is about prevention.
Step 1: Wiring Connections and Low-Voltage Terminals
Wiring connections fail before anything mechanical on an automated gate, and they fail quietly. The low-voltage terminals on the operator, the wire nuts inside junction boxes, and the connections at the safety edges all loosen over time as humidity cycles the metal. A loose terminal doesn’t stop the gate immediately. It causes intermittent faults: the gate opens halfway and reverses, the remote works from one angle but not another, the operator beeps for no clear reason.
Here’s what to inspect on a quarterly basis:
- Operator terminal block. With the power off at the breaker, check that every screw on the low-voltage terminal strip is snug. Don’t overtighten. Give each one a quarter turn past finger-tight and no more.
- Junction box connections. Look for wire nuts that have backed off or twisted loose. Any connection that shows green or white corrosion should be cleaned and re-terminated.
- Safety edge wiring. The wire running to your safety edges flexes every time the gate moves. Look for cracked insulation or a wire that’s been pinched against a hinge.
- Ground connection. Verify the ground wire is tight at both the operator and the grounding point. A loose ground causes erratic behavior that looks like a control board failure but isn’t.
- Solar or low-voltage supply wires, if you have them. Check the connectors at the panel and at the operator for any sign of moisture.
If you’re not comfortable working inside the operator housing, don’t. Gate operators combine low-voltage control wiring with line voltage, and mixing the two is how people get hurt. This is the one part of the checklist where a professional inspection is worth scheduling rather than doing yourself. Electric gate problems that start as a loose terminal are exactly the kind of thing electric gate repair resolves quickly, before the fault spreads.
Step 2: Fasteners, Hinges and Post Anchors
Fasteners come loose in Pembroke Pines faster than in drier climates because the ground moves. Heavy summer rain saturates the soil around post footings, then the dry season pulls moisture back out. That cycle works anchor bolts loose over a few seasons. Add the vibration of a gate swinging open and closed several dozen times a day, and you get a hinge that’s a full turn loose before you notice anything wrong.
Walk the gate and check these points:
- Hinge bolts. Every hinge has at least two bolts. Check all of them, not just the ones you can reach easily. A hinge with one tight bolt and one loose bolt will eventually shear the loose one.
- Post anchor bolts at the base plate. Look for rust streaks or a gap between the plate and the concrete. Either one means the anchor is working loose.
- Operator mounting bolts. The bracket that holds the operator to the post takes the full force of every open and close. Check it every quarter.
- Gate frame bolts and welds. On a steel gate, look for cracked welds at the corners. On aluminum, check the connecting bolts at the frame joints.
- Latch and catch hardware. If your gate has a manual latch, the strike plate loosens over time and the gate stops latching cleanly.
When you find a loose fastener, tighten it and check it again in a month. If it comes loose twice, the anchor needs attention, not another turn of the wrench. That’s a sign of a footing problem or a worn hinge, and it’s worth having someone look at it before the gate drops.
Step 3: Rollers, Tracks and Guide Rails
Rollers wear gradually, and the wear hides itself. A roller that’s flat-spotted or has a worn bearing still rolls, just with more resistance. The resistance shows up as a gate that moves slower, an operator that works harder, and a motor that runs hotter than it should. In the Pembroke Pines humidity, the wear accelerates because grit sticks to any lubricant that’s been sitting on the track too long.
This is where the cleaning-before-lubricating rule matters most. Follow this sequence:
- Inspect before you touch anything. Look at the rollers for flat spots, cracks or a wobbly bearing. Roll the gate by hand if it’s a manual gate, or run it slowly if it’s automated.
- Clean the track or guide rail. Use a stiff brush and a shop vac. Remove every bit of grit, leaves and old grease you can reach. Don’t add anything until the track is dry and clean.
- Check roller alignment. A roller that’s out of alignment wears the track unevenly. Look for a track that’s shiny on one edge and dull on the other.
- Lubricate the rollers, not the track. A light application on the roller bearings is enough. Greasing the track itself attracts grit and does more harm than good in this climate.
- Confirm the gate travels smoothly. Run it through a full open and close. Listen for grinding, squealing or a change in pitch.
A slide gate has a guide rail at the bottom and a set of rollers on the gate frame. A swing gate has hinges instead of rollers, so skip the roller inspection and focus on the hinge pins. Either way, the principle holds: clean first, lubricate lightly, and never let grease build up on a surface that grit can reach.
Step 4: Operator Components and the Control Board Housing
The control board housing is the part of an automated gate that most homeowners never inspect, and it’s the part where condensation causes the most expensive failures. In Pembroke Pines, the overnight temperature drop pulls moisture out of the air and into any enclosure that isn’t sealed tightly. That moisture condenses on the control board, sits there until the morning sun warms the housing, and evaporates. Repeat that cycle several hundred times a year and you get corrosion on the board traces that eventually causes a failure no amount of lubrication will fix.
Here’s what to check on the housing:
- The gasket. Open the housing and look at the door gasket. If it’s cracked, compressed flat or missing a section, moisture gets in every night. Replace it.
- Cable entry points. Every wire that enters the housing should pass through a gland or a sealed fitting. An open knockout is a direct path for humid air.
- Drainage. The housing should have a weep hole or drain at the bottom. If it’s plugged with debris, water pools inside.
- Board condition. With the power off, look for white or green corrosion on the board, discolored components or a burnt smell. Any of those means the board needs professional attention.
- Ventilation and shade. A housing in full afternoon sun runs hotter, and heat plus humidity is what kills control boards. If the housing has no shade, a simple sun shield helps.
Operator components themselves, like the motor, the limit switches and the gear train, generally get inspected less often than the housing. Limit switches drift over time and cause the gate to stop short or over-travel. Gear boxes on heavier operators need their lubricant checked. These are checks a technician should make during a scheduled visit, since they involve opening the operator and, on commercial-grade units like FAAC or BFT, working with settings a homeowner shouldn’t adjust.
If your property runs a LiftMaster or a Linear residential operator, the housing checks above are the ones to prioritize. For heavier automated systems on HOA or commercial entrances, the housing and the control board are the first thing to inspect and the most common cause of an intermittent fault.
Which Lubricants and Cleaners Actually Work in South Florida Humidity
Not every lubricant behaves the same in a humid climate. Some dry out and leave a film that attracts grit, some wash away in the first heavy rain, and some hold up for months without collecting debris. Here’s how the common options actually perform in Pembroke Pines conditions.
- Dry-film PTFE lubricants. These are the best general choice for gate hardware here. They go on wet, then dry to a thin film that doesn’t attract grit. Reapply quarterly.
- Silicone spray. Good for hinges and roller bearings, less good for high-load surfaces. It doesn’t collect grit, but it doesn’t last long in heavy use. Reapply more often than PTFE.
- White lithium grease. Works for heavy-load contact points, but attracts grit in a humid climate if applied too thick. Use sparingly and only where a dry film won’t hold up.
- Penetrating oil (WD-40 type). Fine as a cleaner and a short-term loosener. Not a long-term lubricant. It evaporates and leaves hardware unprotected.
- Graphite powder. Works well in lock cylinders and hinge pins on manual gates. Not suitable for exposed rollers or tracks in this climate.
- Heavy grease. Avoid on any exposed surface. It’s the worst offender for trapping grit against a track or guide rail.
For cleaning, use a stiff nylon brush and a shop vac for dry debris. For rust spots, a light abrasive pad followed by a rust-inhibiting primer touch-up is the right response. Skip any cleaner that leaves a residue, and never use a pressure washer on an operator housing, a control board area or a safety edge, no matter how tempting it is after a storm.
If your gate is still under a manufacturer’s recommended lubricant specification, follow that for the operator internals. For everything external, the performance above holds. Supervised Tidewater Gate Repair technicians carry the right products for the brand, so this is one area where a scheduled visit saves you from buying the wrong can.
How to Estimate Your Gate’s Daily Cycles and Set Service Intervals
Cycle count is the single best predictor of when a gate needs service, and most homeowners have never calculated theirs. A cycle is one complete open and one complete close. Here’s how to estimate yours in about five minutes.
- Count the people and vehicles that use the gate on a typical day. A single-family home with two cars and one household might be eight to twelve cycles a day. A home with a landscaper, a pool service and deliveries might be fifteen to twenty.
- Add scheduled services. Weekly pool, lawn and pest visits add cycles on the days they happen. So do Amazon deliveries if the driver has a code.
- Multiply by the days the gate operates. A gate that runs every day of the year sees 365 times the daily count.
- Add storm events. After a heavy Florida storm, gates often cycle more often for a week as people come and go from cleanup. Add ten percent to your annual estimate.
Here’s what the numbers imply for service intervals:
- Under 10 cycles a day. A full professional inspection every six months, quarterly lubrication, and annual control board check.
- 10 to 25 cycles a day. Inspection every four to six months, quarterly lubrication, and a control board check every six months.
- 25 to 50 cycles a day. Inspection every three to four months. This is where residential operators start showing wear on the gear train.
- Over 50 cycles a day. Monthly visual inspection and a professional visit every two to three months. At this volume, an operator may already be near its rated duty cycle. Commercial-grade operators like FAAC and BFT are built for this range.
A gated community or managed property in Pembroke Pines almost always falls into the higher brackets, because multiple households or shared use push the daily count up fast. That’s why Pembroke Pines properties with any shared access need a tighter schedule than a single-family home with a private driveway.
If you’re not sure which bracket your gate is in, run through the count on a normal day and again on a busy day. Use the busier number. Under-maintaining a high-cycle gate is how a motor replacement gets moved up a year or two.
Your Printable Monthly, Quarterly and Annual Task Split
The most useful way to handle gate maintenance is to split the tasks by frequency, so you’re not trying to remember a single long list every six months. Print this section and stick it inside the gate operator housing door or on the wall of the garage.
Monthly
- Visual walk-around: look for any physical damage, bent bars or a gate that sits crooked.
- Listen to the gate run a full cycle. Note any new noise, grinding or squeal.
- Test the safety edges and photo eyes by walking through the gate’s path as it closes.
- Check for loose fasteners at the hinges and the operator mount.
- Clear leaves and debris from the track, guide rail and any drainage points near the footings.
Quarterly
- Full clean of the track or guide rail with a stiff brush and shop vac.
- Lubricate rollers, hinges and hinge pins with a PTFE dry-film product.
- Check wiring connections at the operator terminal block with the power off.
- Inspect the control board housing gasket, cable entries and drain points.
- Tighten all fastener checks from the monthly list, plus the post anchor bolts.
Annually
- Professional inspection of operator internals, limit switches and gear train.
- Full control board inspection for corrosion and component wear.
- Post footing and anchor assessment, especially after a heavy wet season.
- Paint or rust-inhibitor touch-up on any exposed steel or fasteners.
- Review cycle-count estimate and adjust the schedule for the year ahead.
If your gate is automated, add a check of the remote and keypad battery to the annual list. If you have a manual gate, add a hinge pin replacement check to the annual list instead. Print the split, tape it up, and the checklist stops being a memory exercise.
Common Mistakes to Avoid
- Lubricating before cleaning. This is the mistake that shortens gate life the most in a humid climate. Grease applied over grit works like sandpaper on every roller, hinge and track surface.
- Greasing the track instead of the rollers. A greased track in Pembroke Pines collects grit and debris from the first day. Lubricate the moving parts and leave the track clean.
- Using WD-40 as a long-term lubricant. It’s a great cleaner and a poor protector. It evaporates and leaves hardware exposed to moisture.
- Ignoring a loose fastener after the second tightening. A bolt that comes loose twice needs more than another turn of the wrench. It’s telling you the anchor or the hinge is worn.
- Never opening the operator housing. The gasket, the cable entries and the drain points are where condensation gets in. A housing that’s never checked is where control boards quietly corrode.
- Pressure washing the operator or safety edges. Water forced into a sealed housing or a safety edge meets the seal from the wrong side. Skip the pressure washer near any electrical component.
- Skipping the safety edge test because the gate “seems fine.” Safety edges fail silently. Test them monthly, every time, whether or not the gate has shown a problem.
When to Call a Professional
A maintenance checklist handles a lot, but it doesn’t replace a trained eye on the parts you can’t safely inspect yourself. Call a professional when any of the following comes up: the gate reverses without an obvious obstruction, the operator beeps or flashes error codes, the gate moves slower than it used to, the control board housing shows corrosion, a post anchor has come loose for the second time, or the safety edges don’t trigger when you walk through. Also call if you’ve never had the operator internals opened and inspected. Homeowners handle monthly and quarterly tasks well. Operator internals, wiring terminals and post footing assessment belong to a technician. Tidewater Gate Repair offers free estimates in Pembroke Pines – call (877) 748-7198. We answer 24/7, with fast dispatch from 7am to 7pm, Sunday through Friday. We work on gates, only gates, and whether your property runs a LiftMaster or a BFT, we already know the system.
Frequently Asked Questions
A residential gate in Pembroke Pines should get a full professional inspection every six months and lubrication every quarter, with tighter intervals if your daily cycle count is above ten. The humidity here accelerates wear on wiring connections, fasteners and control boards faster than in drier climates, so a once-a-year service visit is not enough for most automated gates. Call (877) 748-7198 to schedule an exact quote – estimates are free.
Lubricate the moving parts, not the surfaces they travel on. Apply a dry-film PTFE product to rollers, hinge pins and the operator’s pivot points, and leave the track or guide rail clean and dry. Skip heavy grease on exposed surfaces entirely in this climate, because it traps grit and turns into an abrasive paste. Call (877) 748-7198 for a free quote on a full lubrication and inspection service.
Intermittent gate failures are almost always a wiring or terminal problem, not a motor problem. A loose terminal at the operator, a corroded connection in a junction box or a failing ground causes the gate to work perfectly one minute and refuse to move the next. The humid air in Pembroke Pines loosens and corrodes those connections faster than dry air does. Call (877) 748-7198 to book a diagnostic visit – estimates are free.
Condensation inside the control board housing. Overnight temperature drops pull moisture into any enclosure that isn’t sealed tightly, that moisture condenses on the board, and it evaporates in the morning sun. Repeat that cycle through a humid Pembroke Pines year and corrosion eats the board traces. Check the housing gasket, cable entries and drain points quarterly. Call (877) 748-7198 for a control board inspection – estimates are free.
You can safely handle cleaning, lubrication, visual inspections and monthly safety edge tests. Leave the operator internals, wiring terminals and post footing work to a trained technician, because gate operators combine low-voltage control wiring with line voltage. Our technicians have up to 9 years of experience working on both residential and commercial operators, and we can walk you through the parts you can safely handle. Call (877) 748-7198 for a free estimate on professional service.
Yes, mostly by preventing the failures that lead to replacement. A clean track, lubricated rollers and tight wiring connections keep the motor from working harder than it should, and a sealed control board housing prevents the corrosion that kills operators early. In our experience, routine maintenance on a LiftMaster, Linear or FAAC operator around Pembroke Pines adds measurable years before a motor replacement is needed. Call (877) 748-7198 to set up a maintenance schedule – estimates are free.
The Bottom Line
The order in which you inspect your gate matters as much as how often. In Pembroke Pines, the components that fail first are wiring connections, then fasteners, then rollers, then operator internals, driven by humidity cycling and daily cycle counts. Clean before you lubricate, check the control board housing for condensation, and count your daily cycles so the service intervals you choose actually match the load on the gate. Split the work into monthly, quarterly and annual tasks, print the list, and stick it inside the housing door. The parts you can safely handle, you can handle. The parts that need a trained eye, that’s where we come in. Call Tidewater Gate Repair at (877) 748-7198 for a free estimate. We answer 24/7, with fast dispatch from 7am to 7pm, Sunday through Friday.
Written by the team at Tidewater Gate Repair.
See the difference
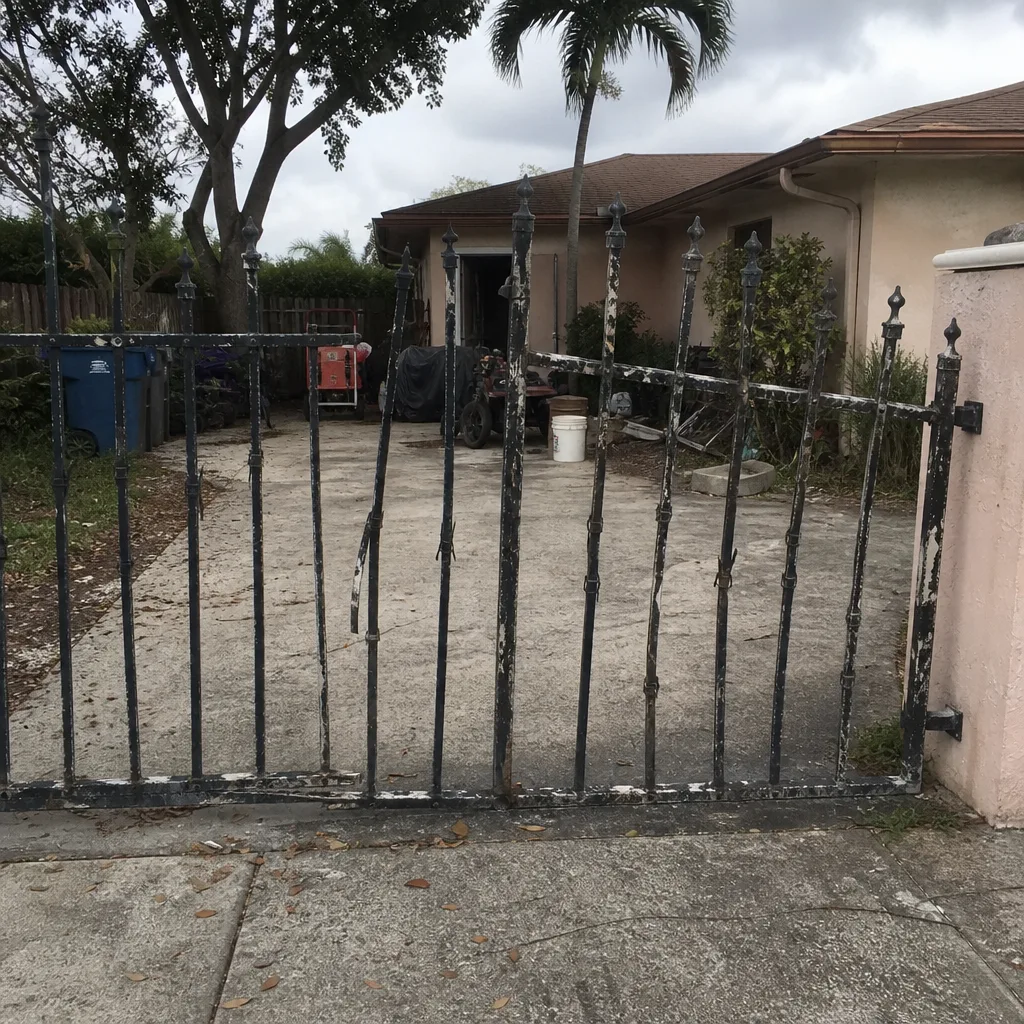 Before
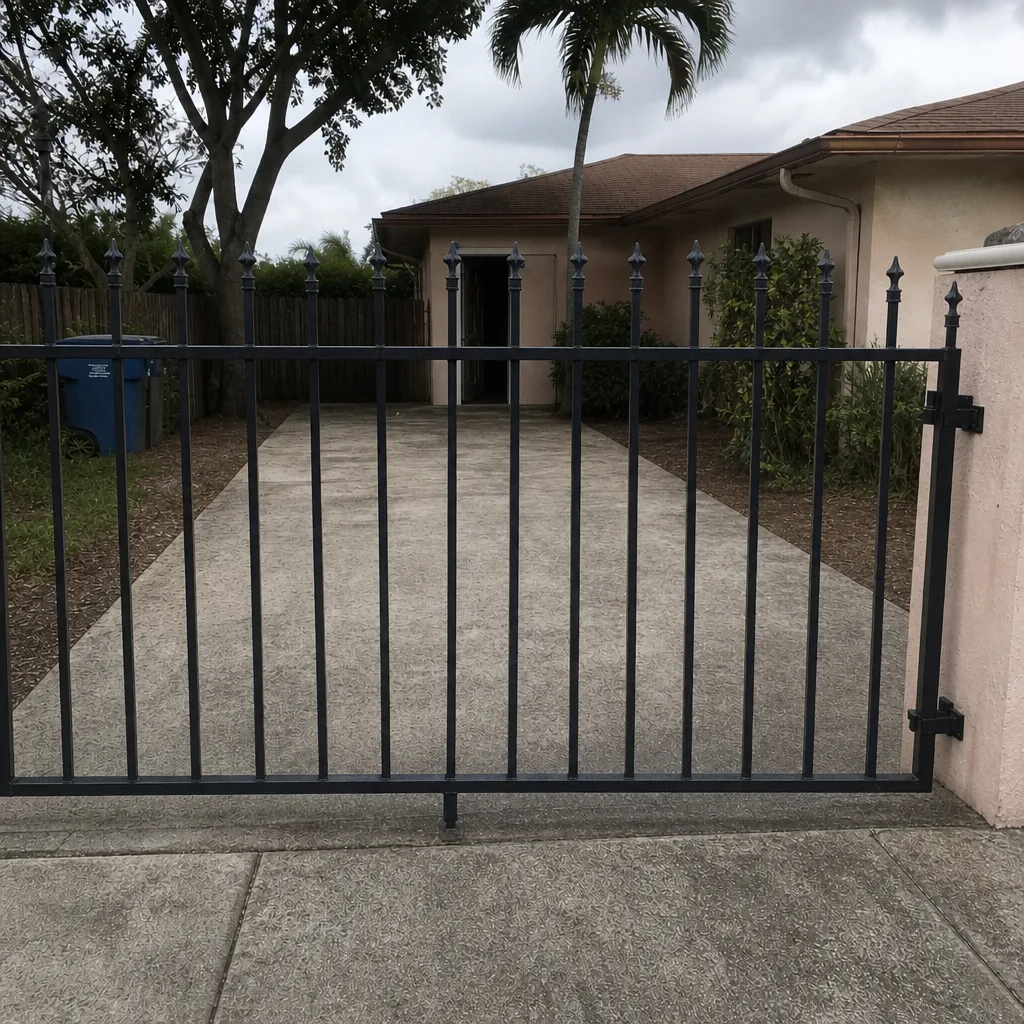 After
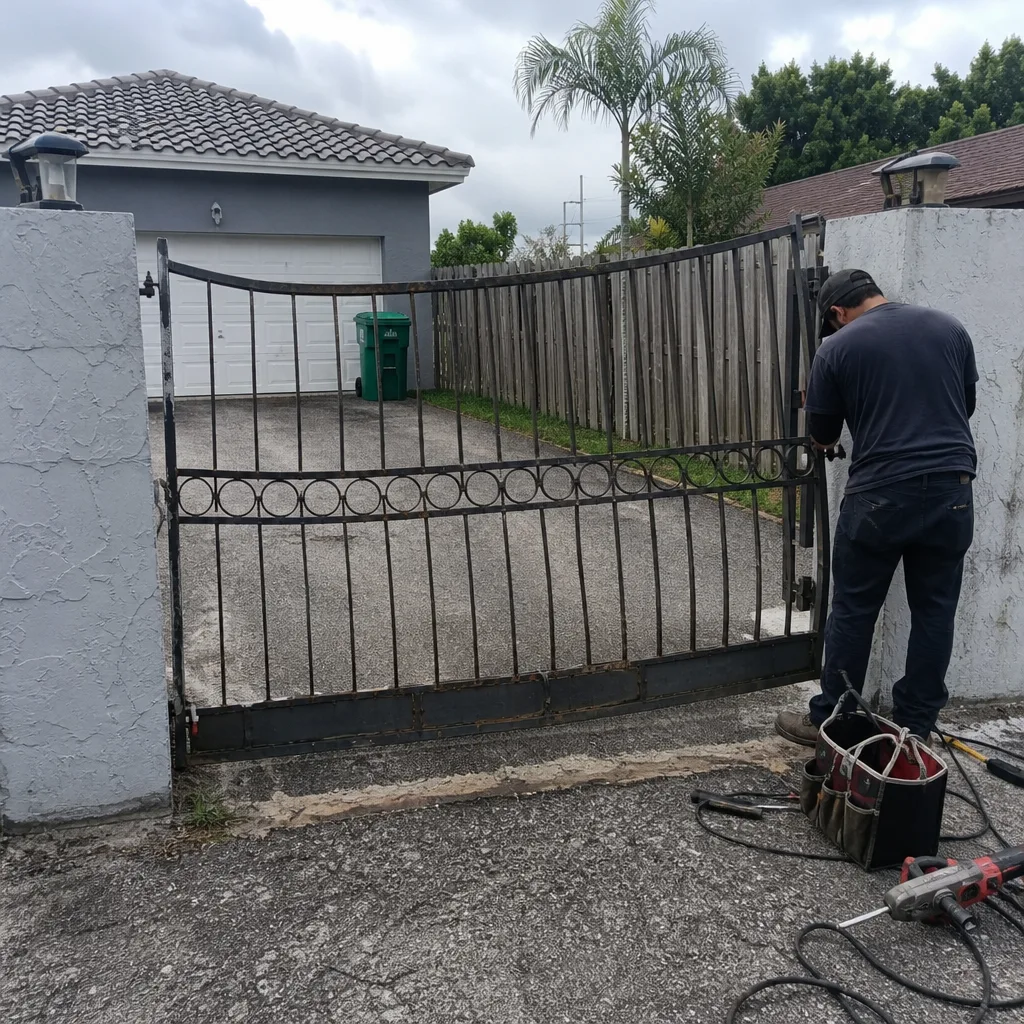 Before
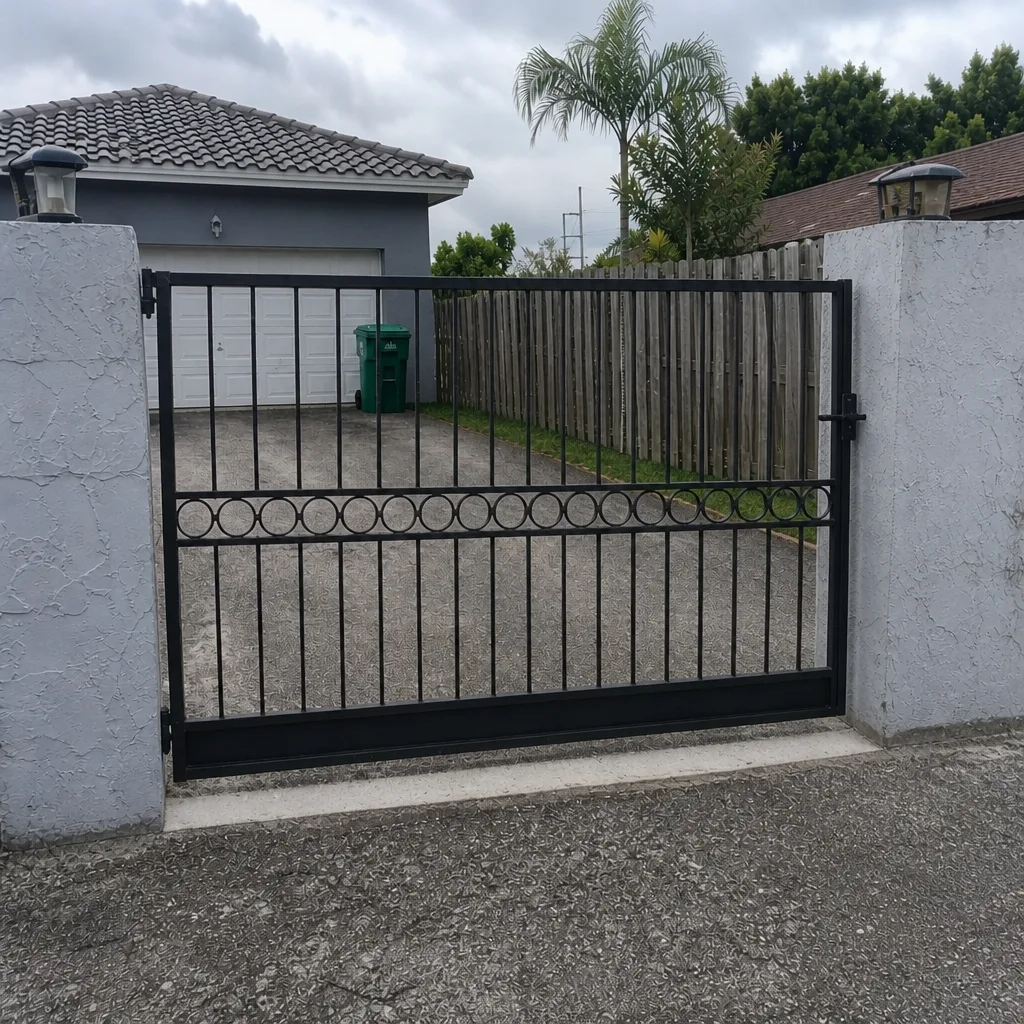 After
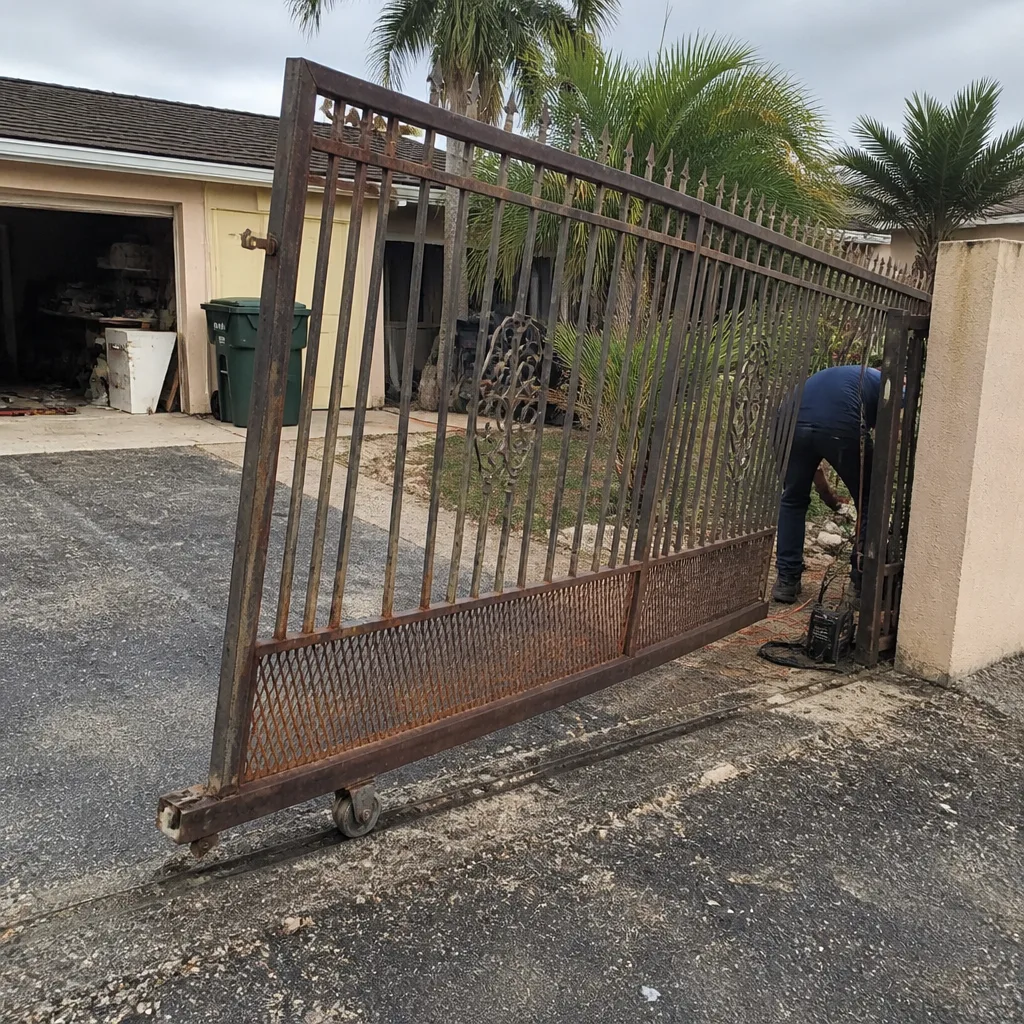 Before
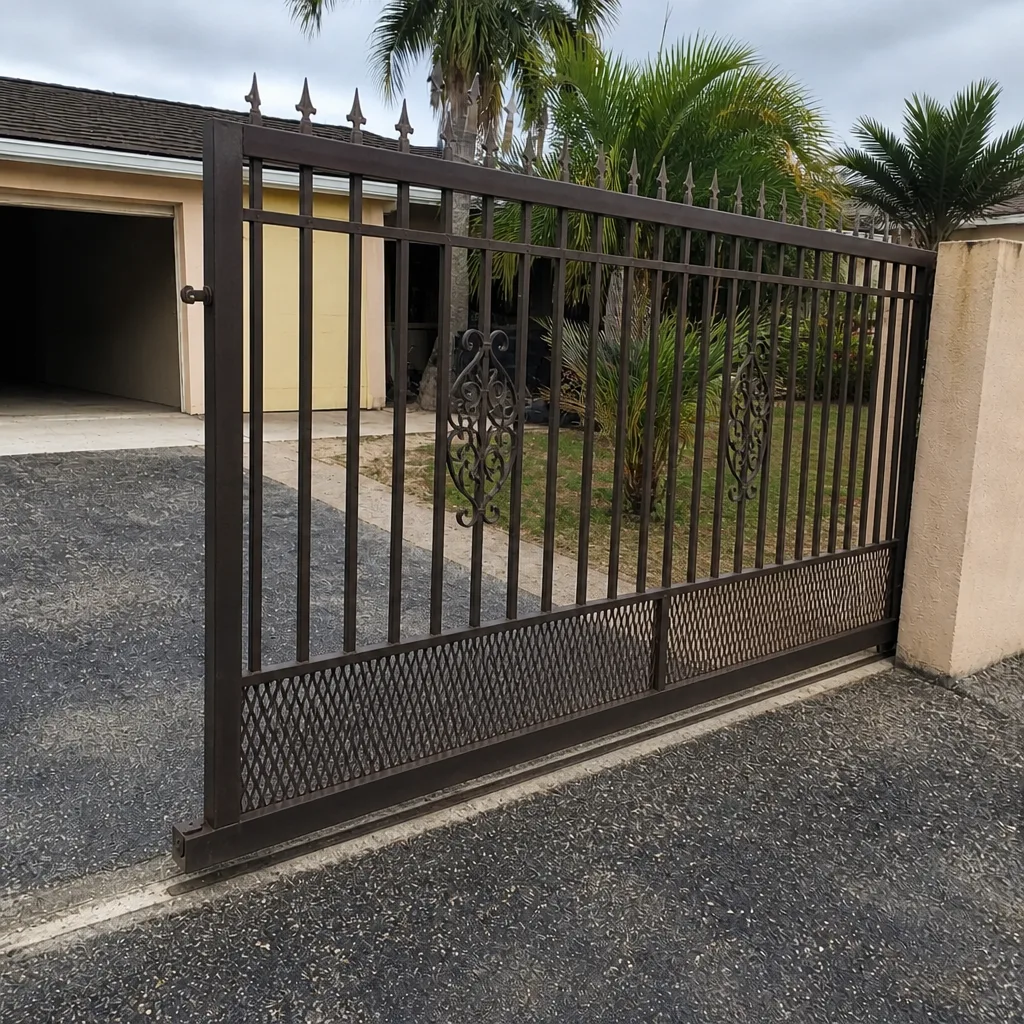 After